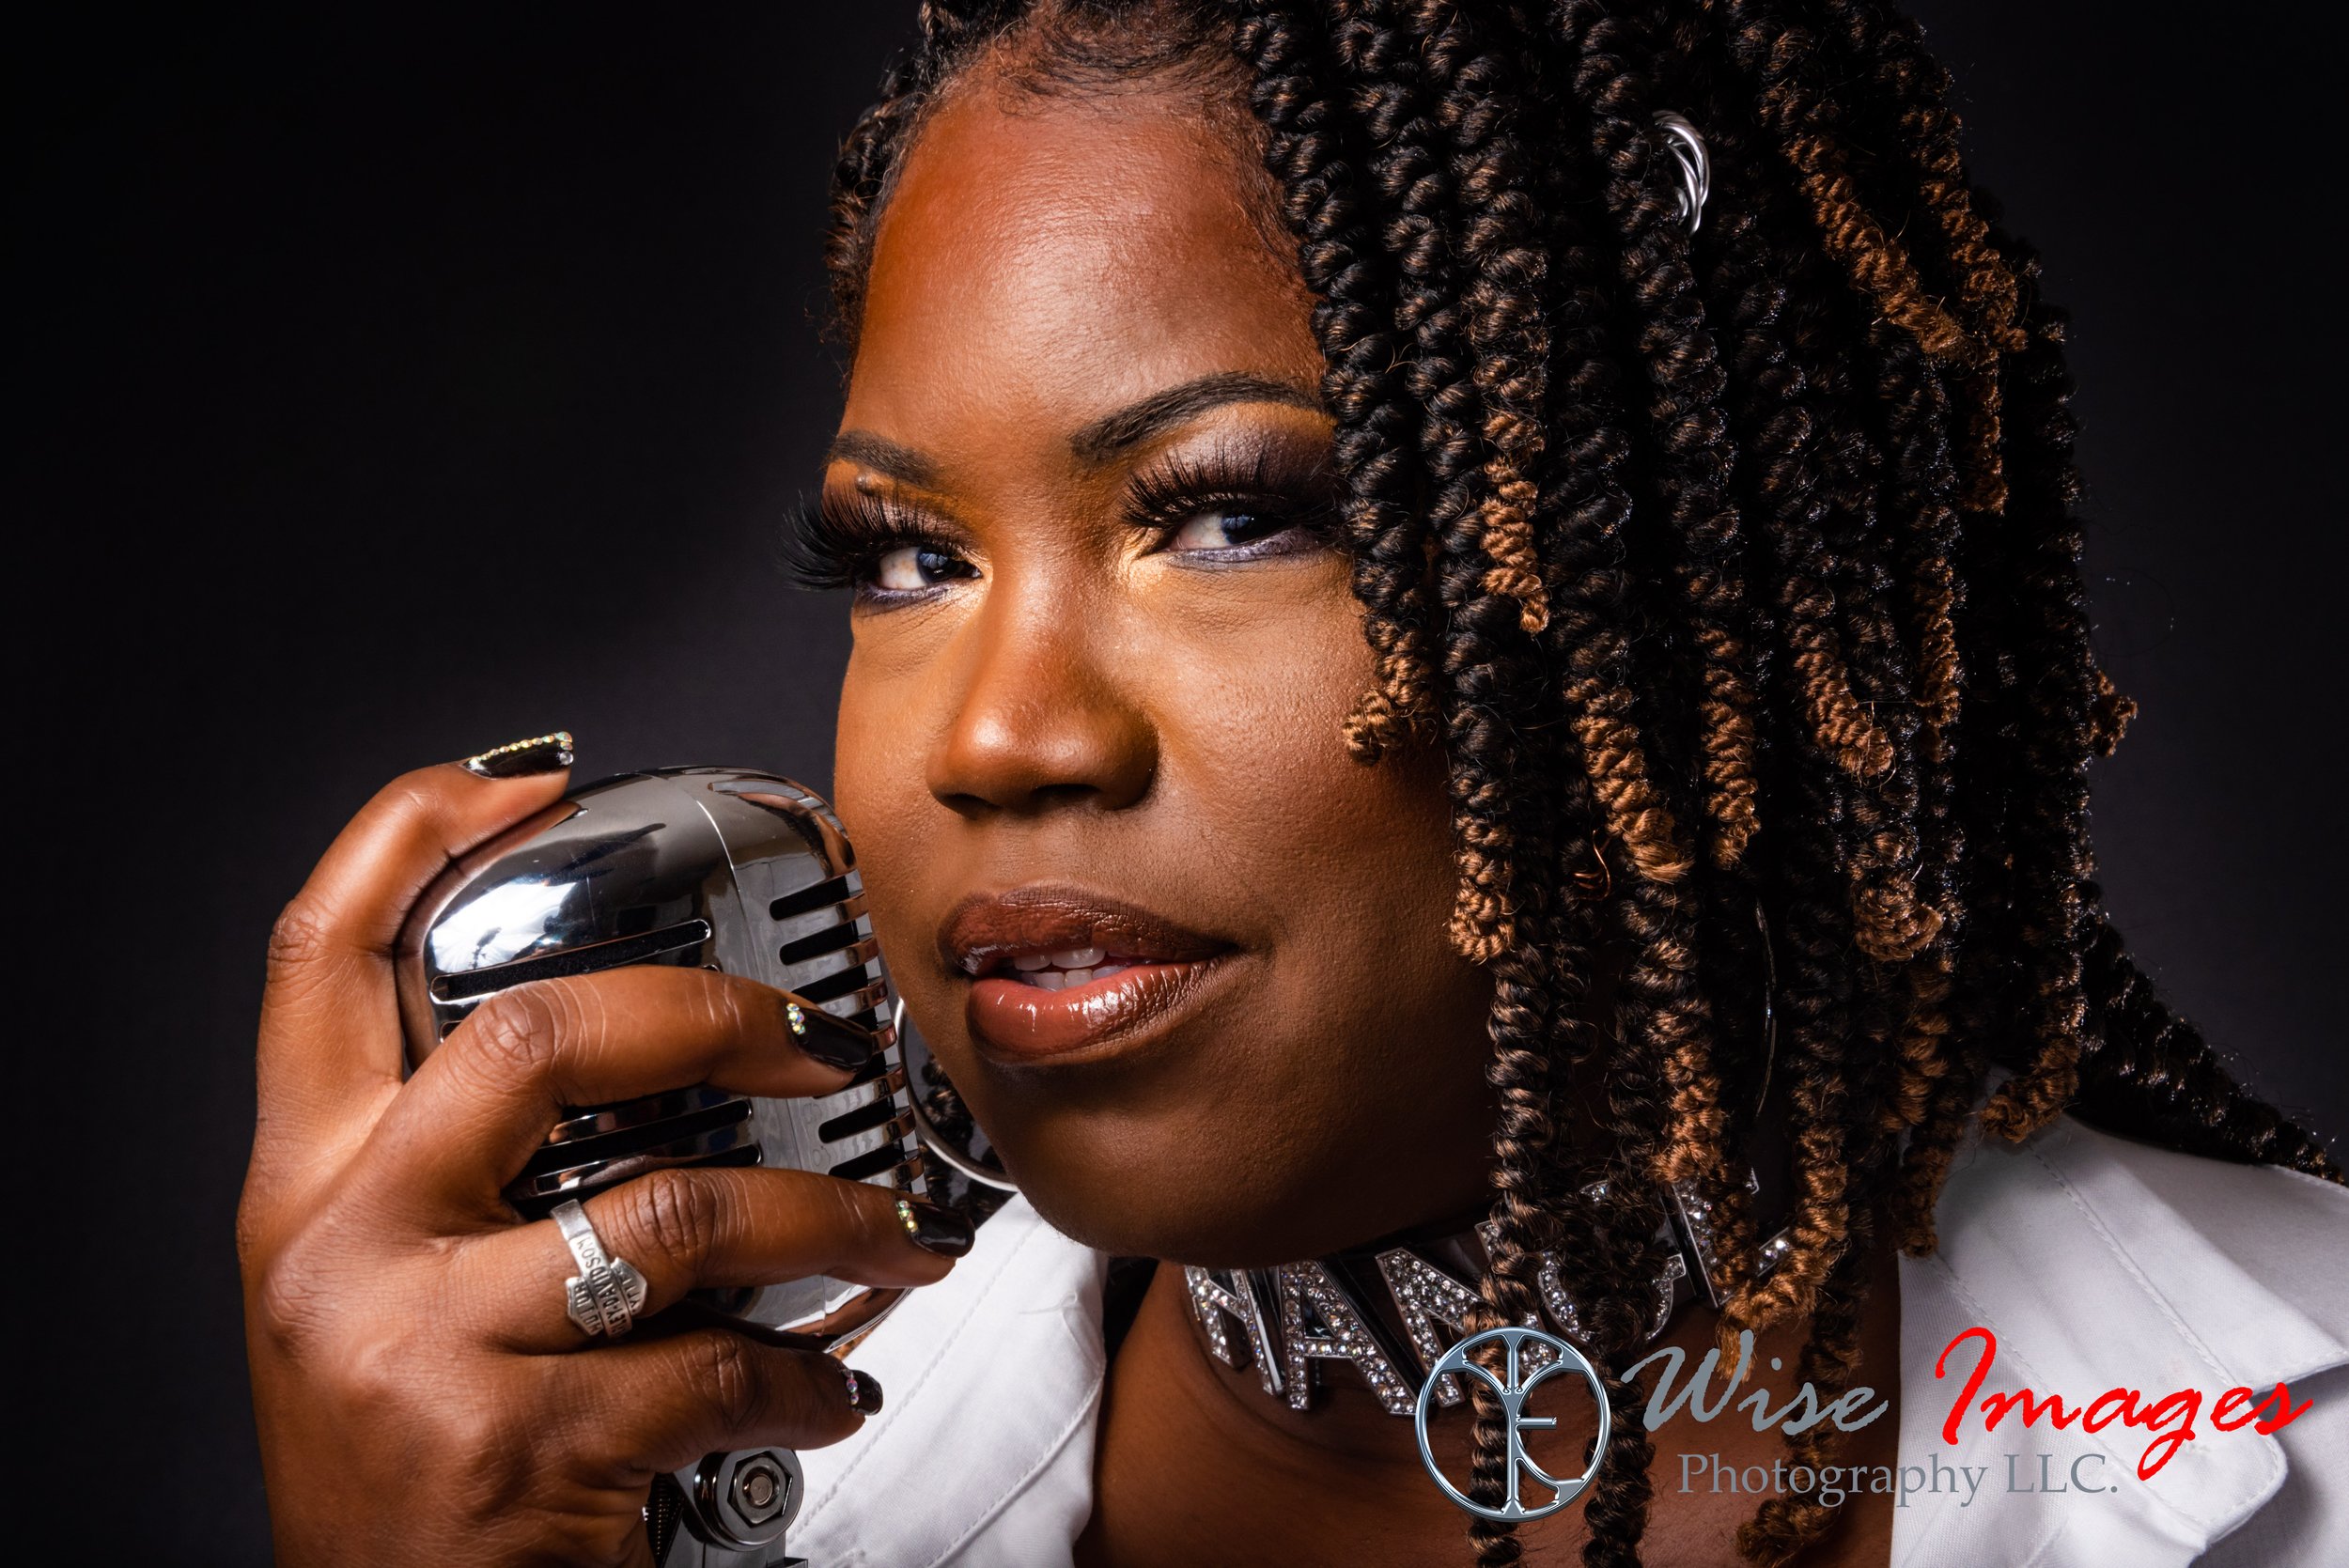
In the last blog, I mentioned composition is about how and the way a viewer’s eye moves throughout the image. It is up to you to “control” what you want them to do when they see what you saw. You want to take them on a journey and make an impact as they view your image. So let’s get started with some more ideas!
Simplify
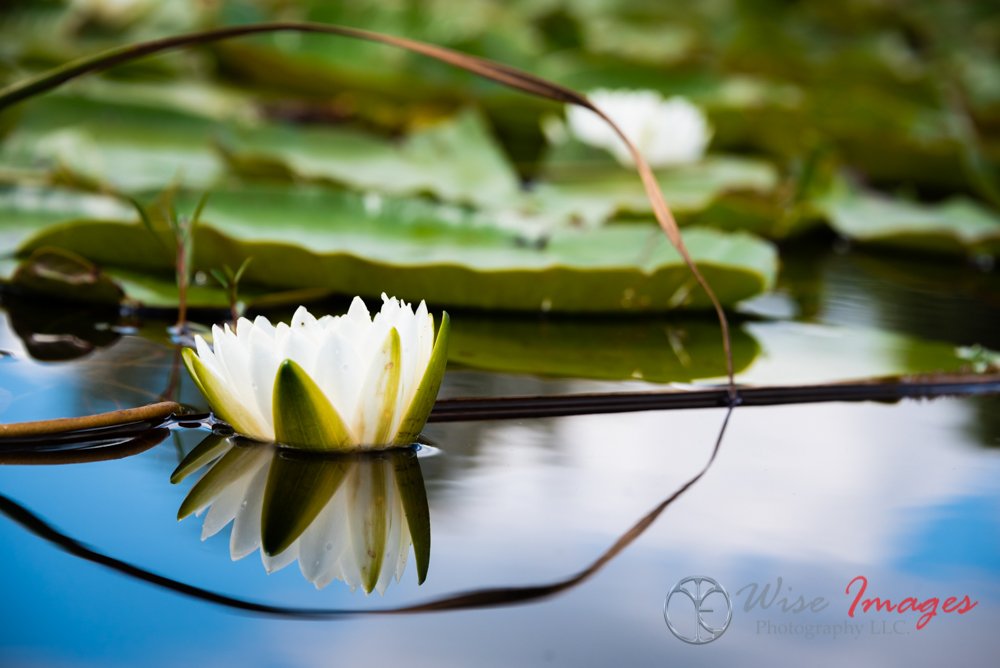
Simplifying your photograph is about getting rid of all the unnecessary items in your image. Thinking about what you aren’t going to show is just as important as what you will let into your shot. It’s alright to put only part of the subject in the frame and fill it. Our minds will naturally fill in the missing parts. So simplify your image to evoke an emotion, expression, or show fine detail.

Notice in the original there were distractions of little twigs.

In the final image I took out the twigs to simplify the background and make the focus on the flower.
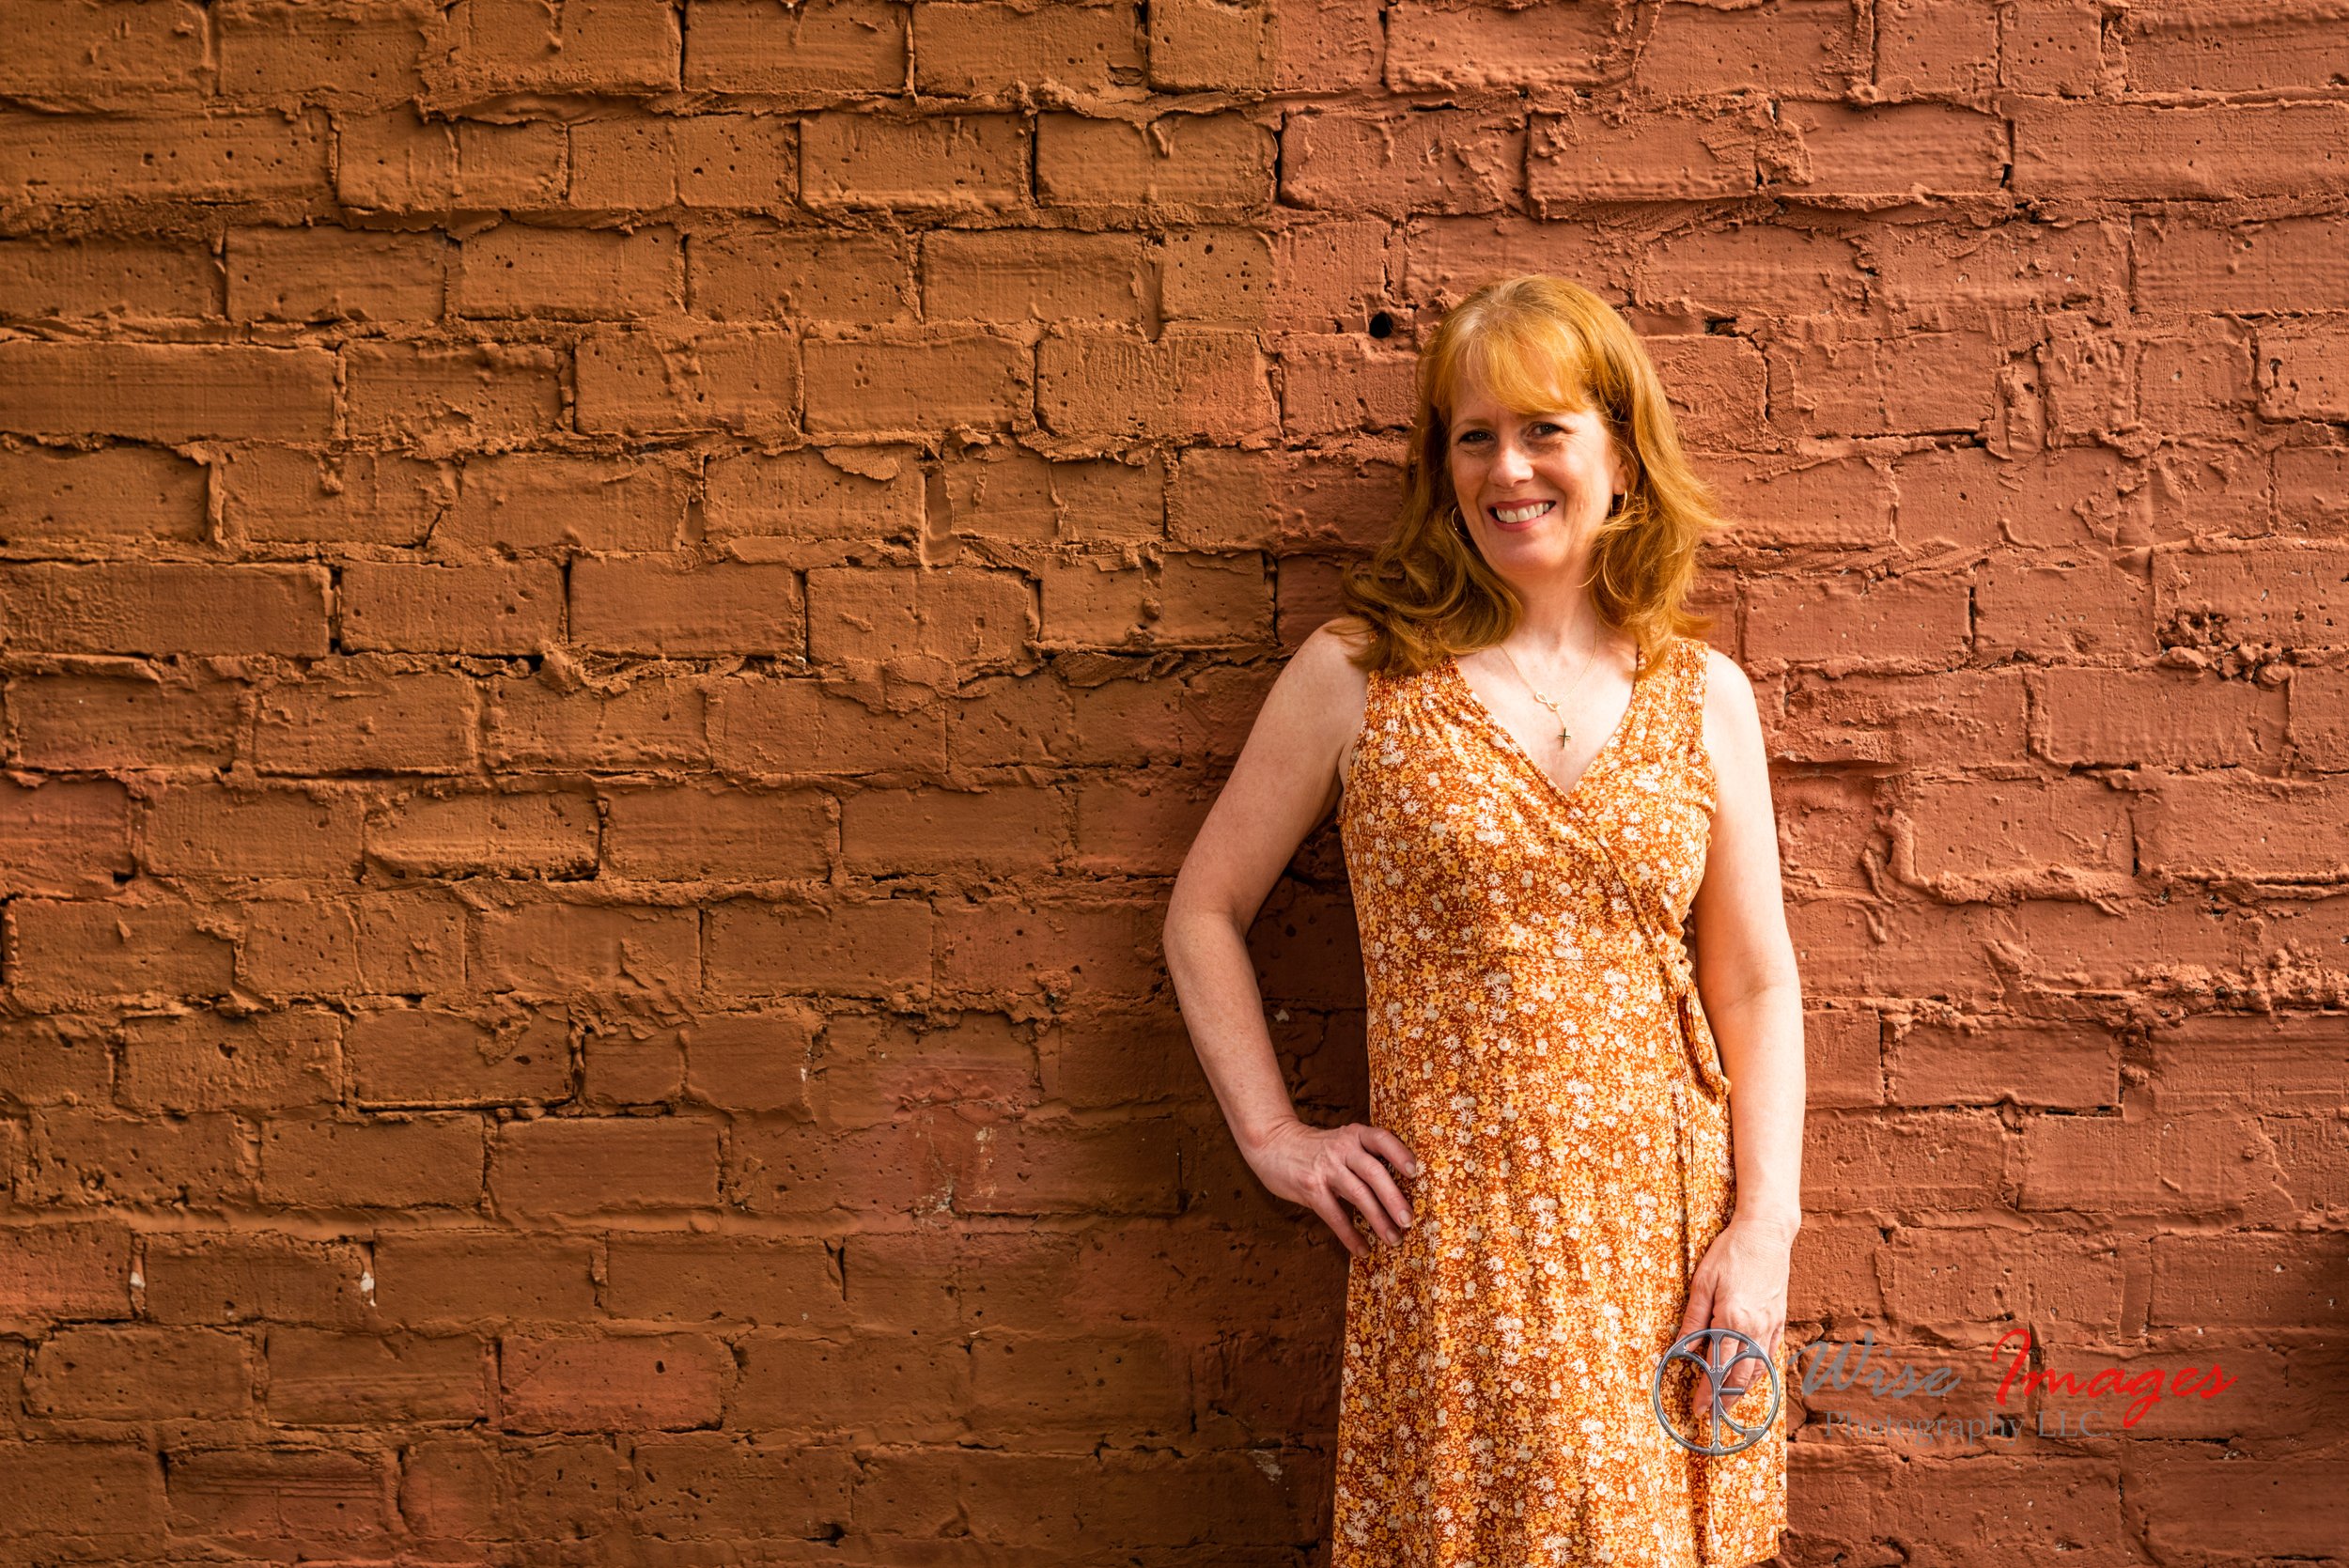
Watch your background
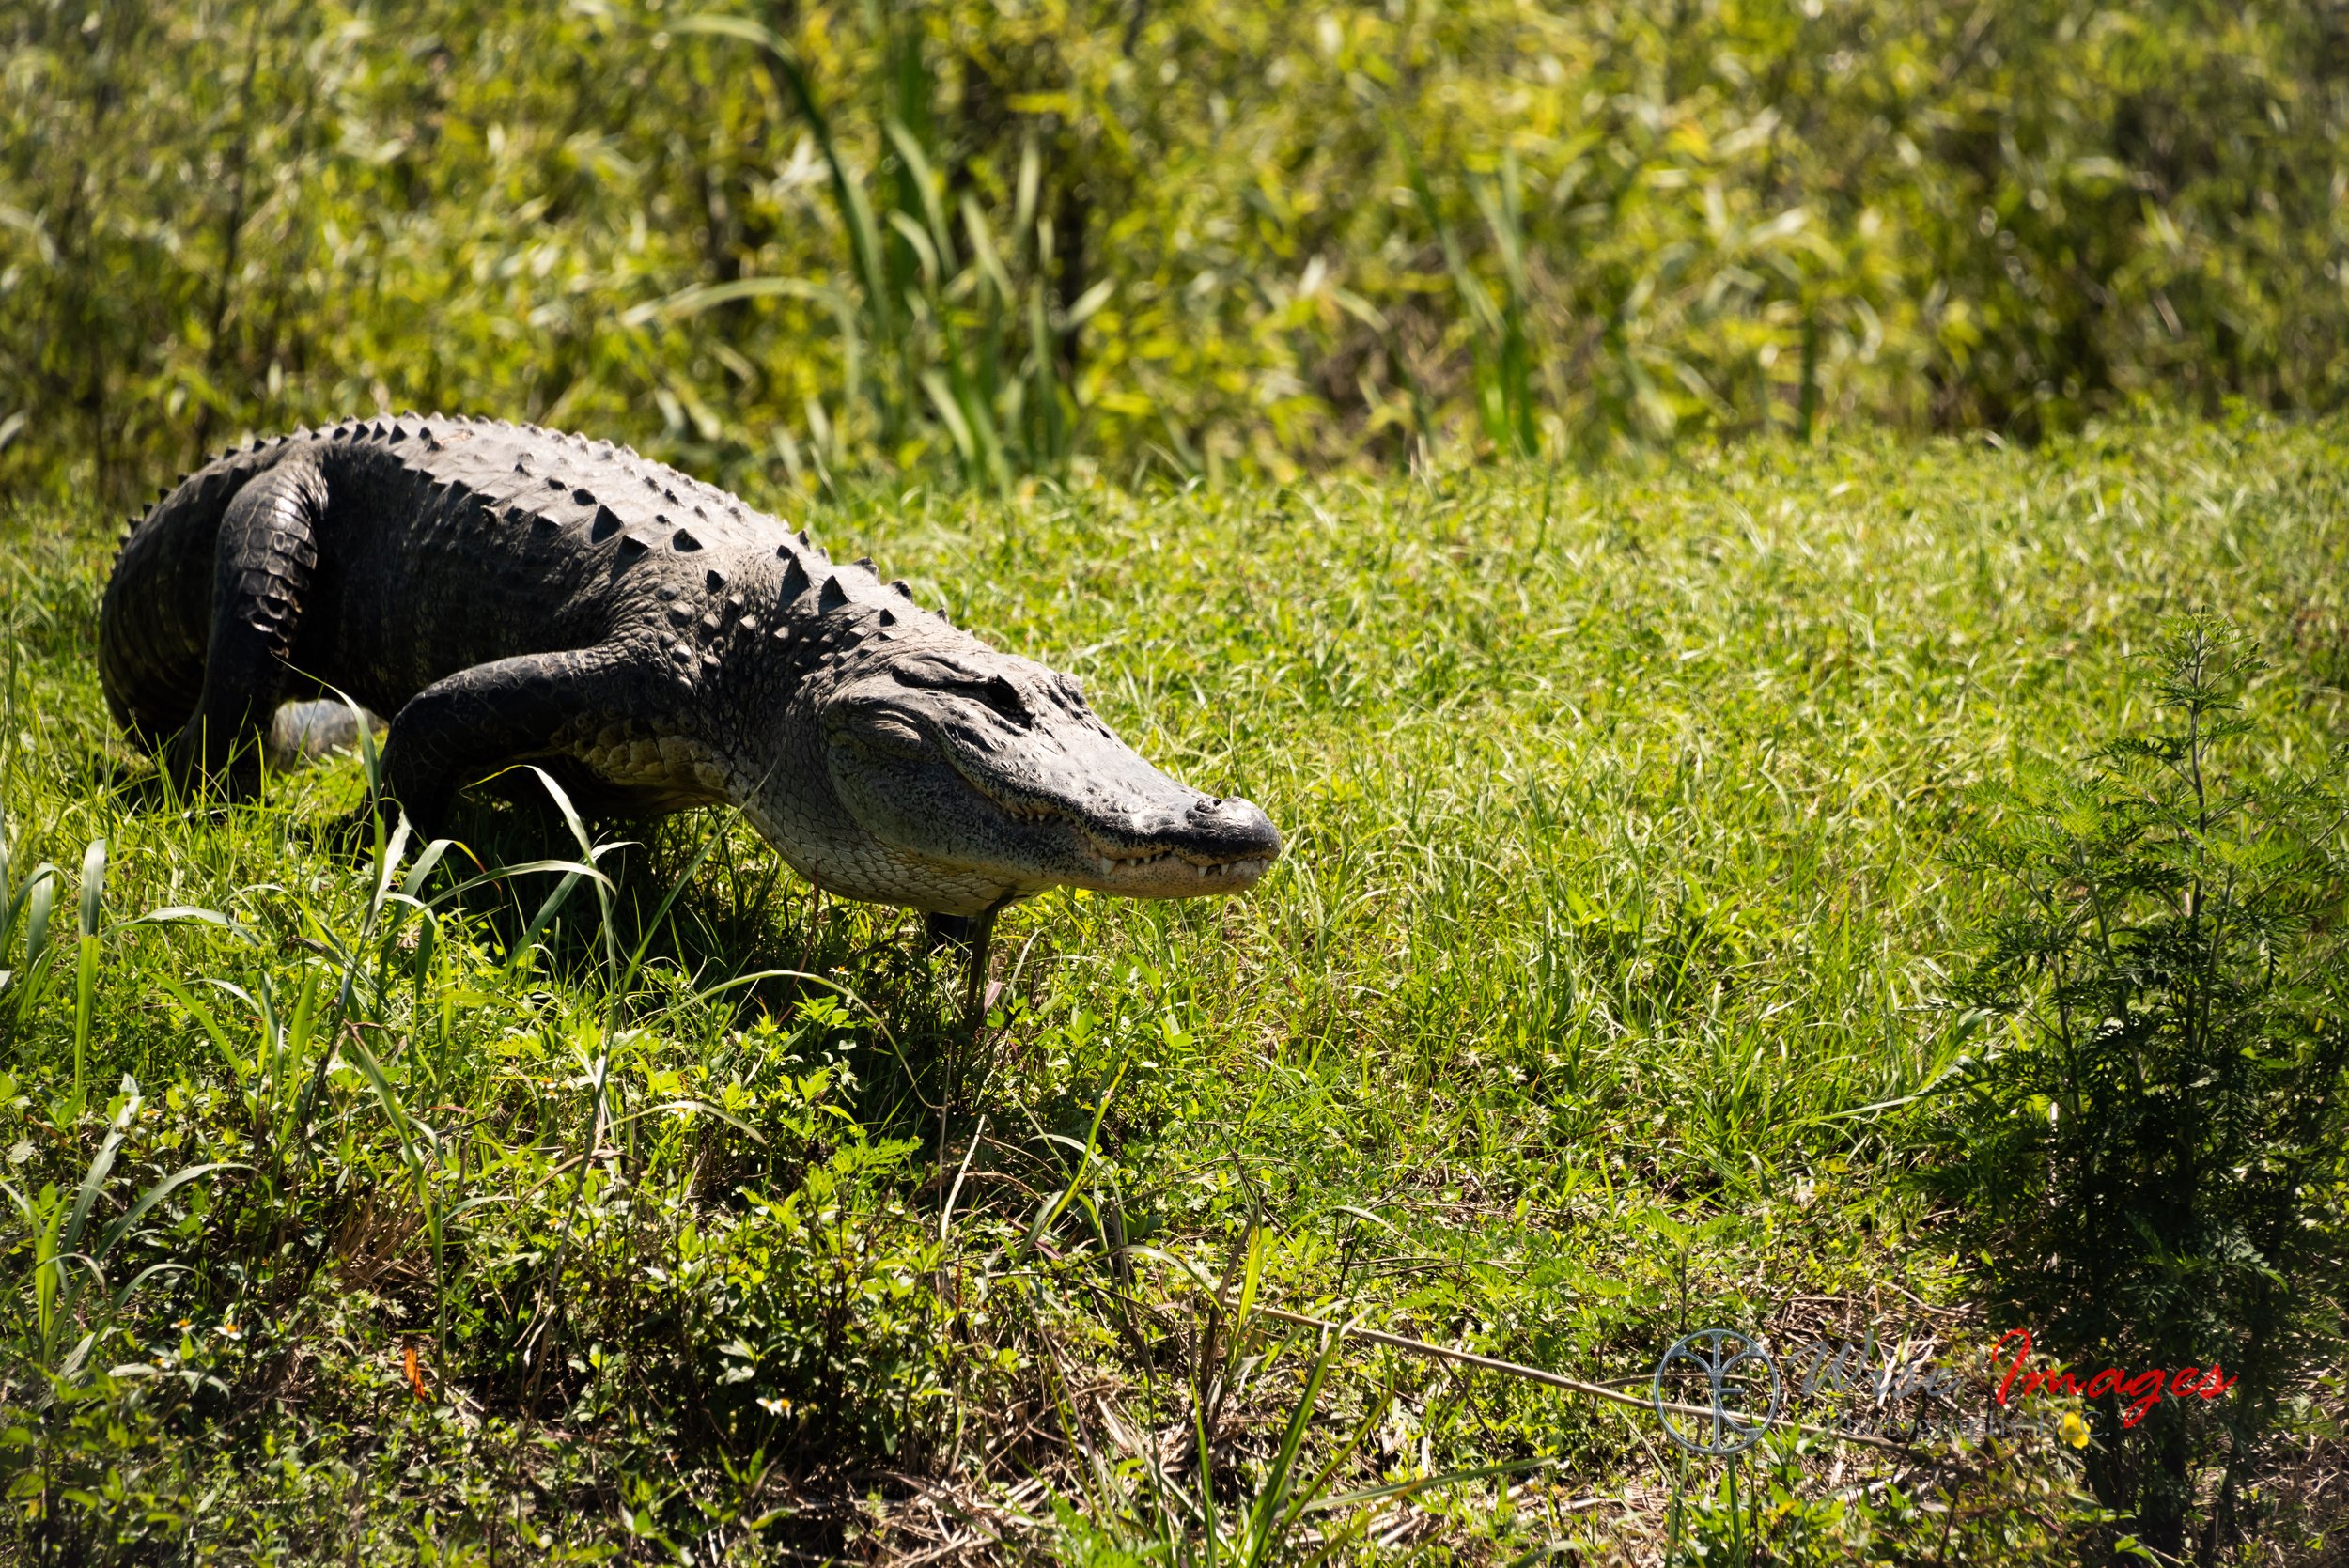
When you have a simple background it makes it easier to see our main subject. So keep an eye on what is behind your subject because you don’t want to distract and lose the subject. Remember you can also blur out your background to decrease distractions. When you are photographing humans you have more control over where you place your subject versus when you are photographing wildlife.

Note how hard it is to see him in the trees which is one of the difficulties with bird photography. I had a 28 to 300 mm Nikon lens.

Notice how we can clearly see the bird because we have a nice plain background. PS. I have a Sigma 150 to 600 lens which has helped my reach!
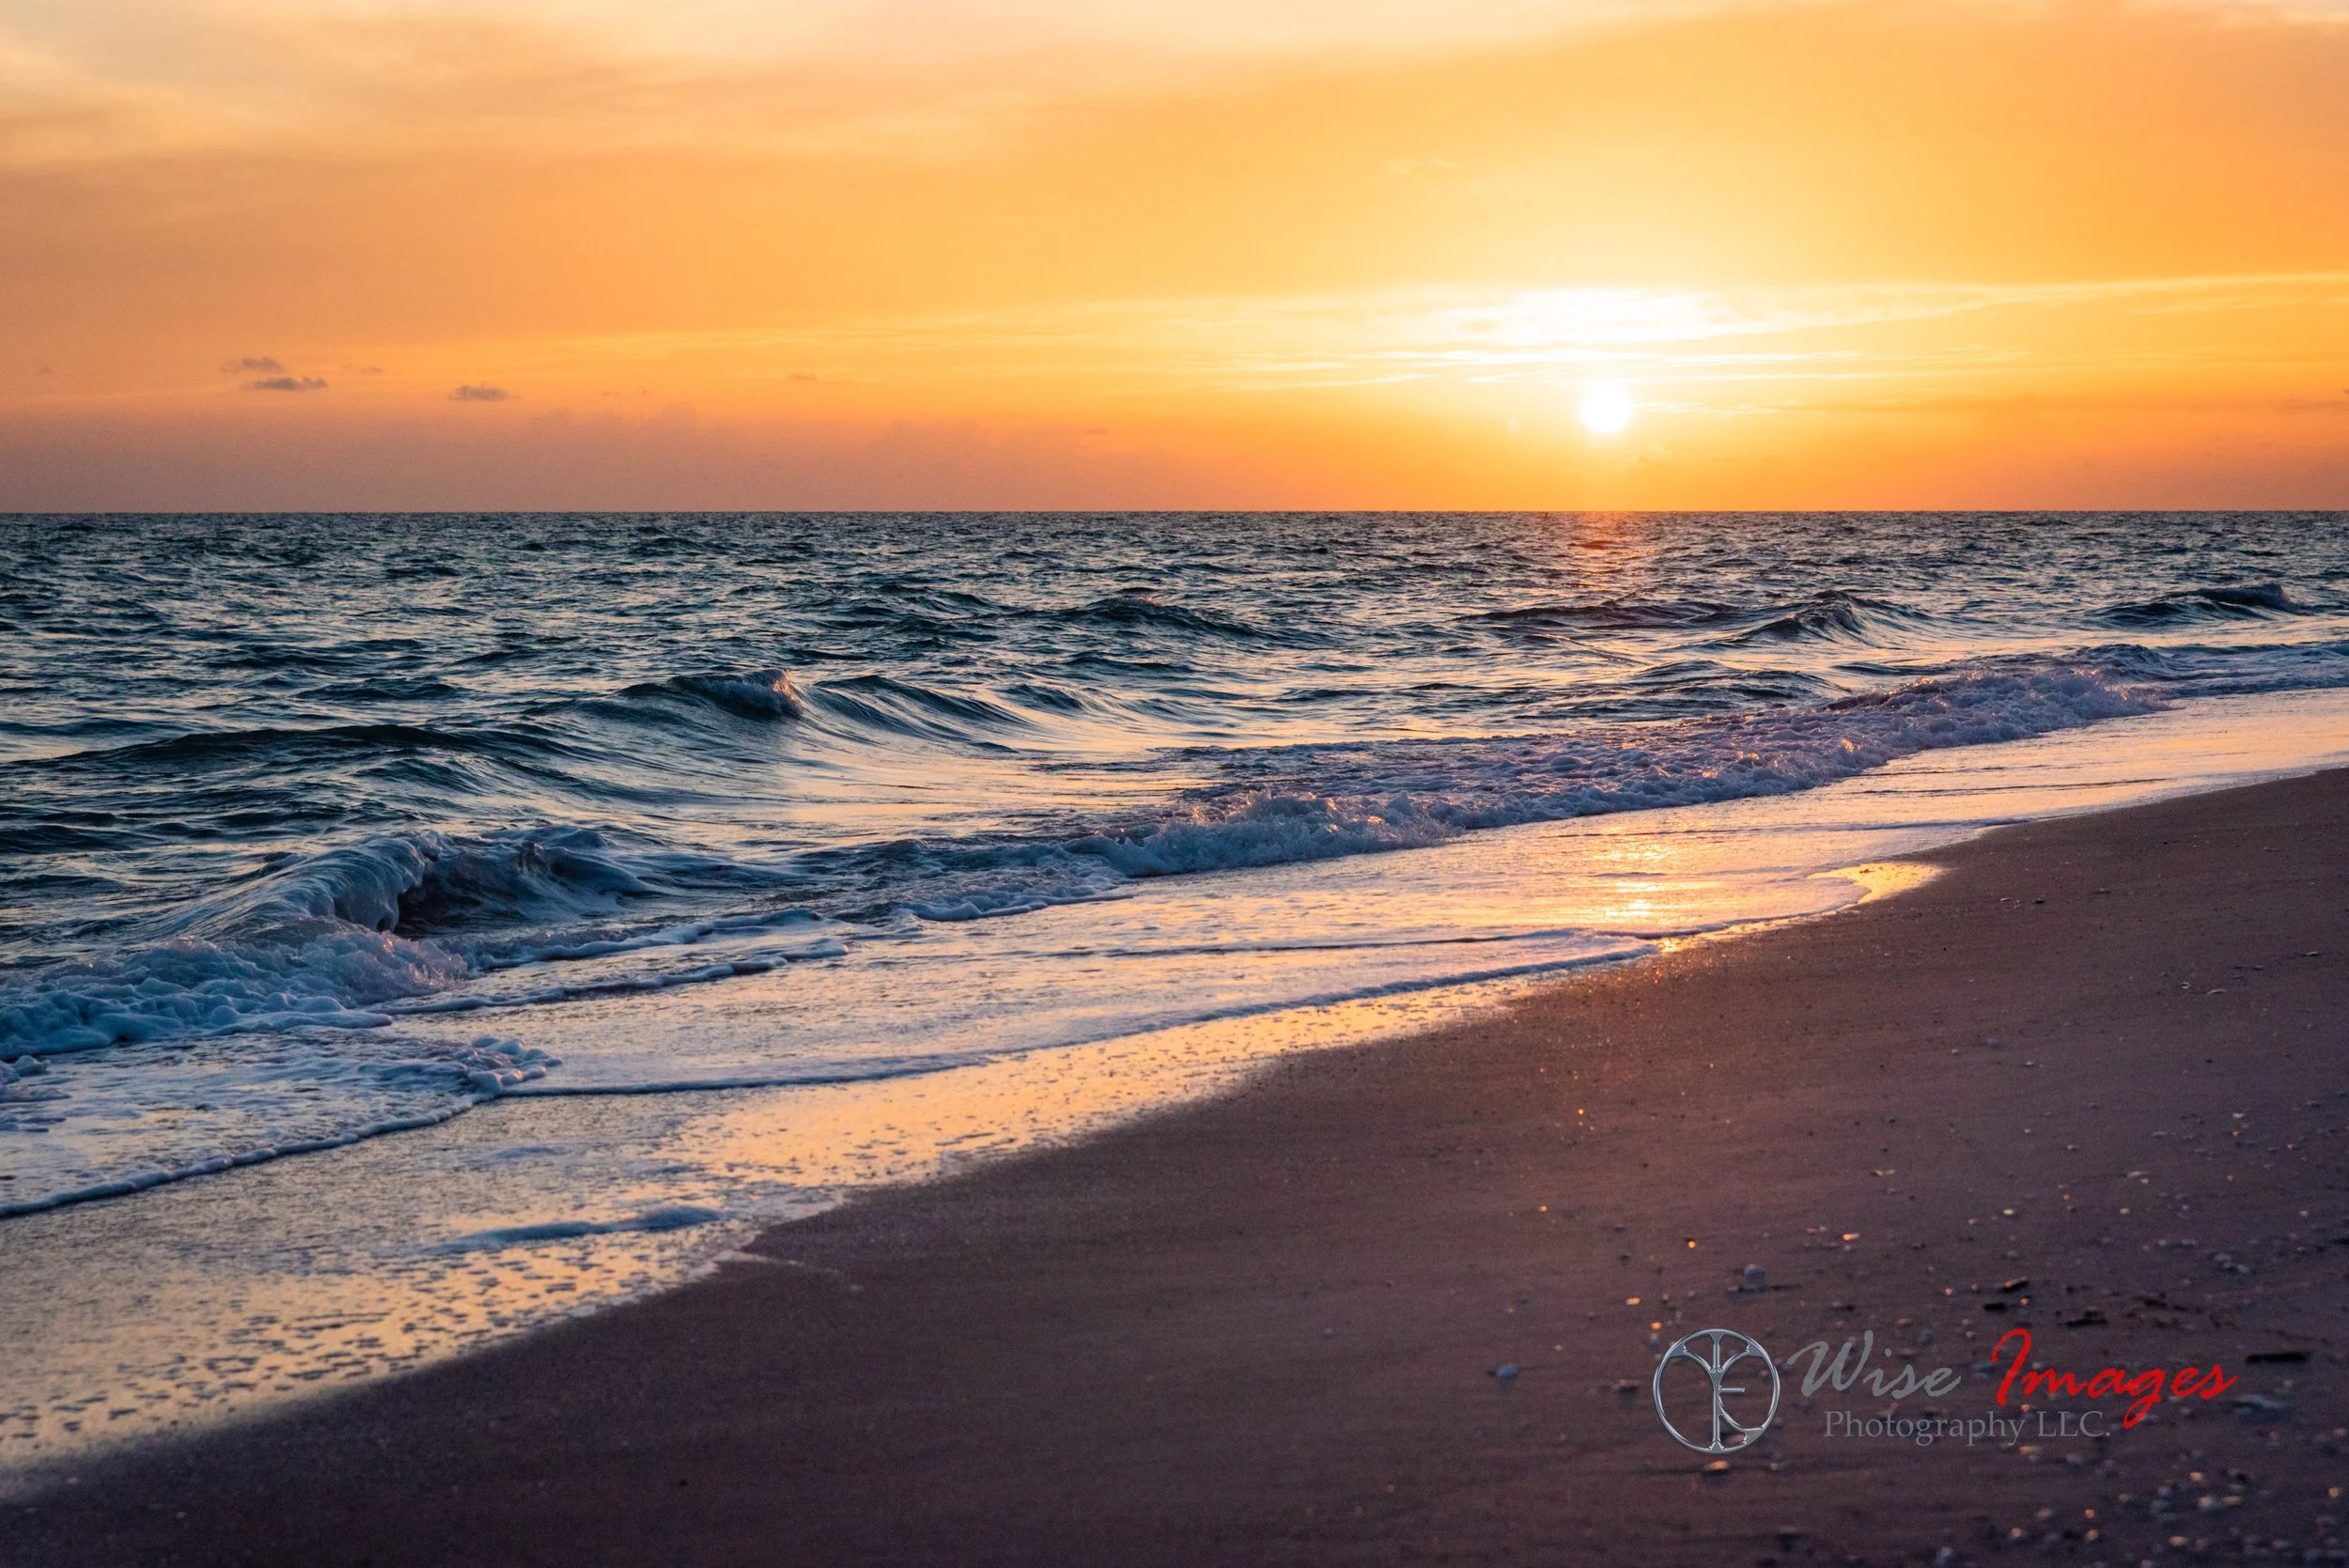
Reflections/Symmetry
Reflections are fun to play with because it adds symmetry to your photograph. You can use a water source or mirror to create reflections. Symmetry will often occur when you use a water source to create the reflection of an object. Keep your eyes open to your surroundings to find symmetrical scenes.

As I mentioned in a previous blog, this picture had multiple elements such as framing, reflection, and symmetry in it.
Perspective/Angles
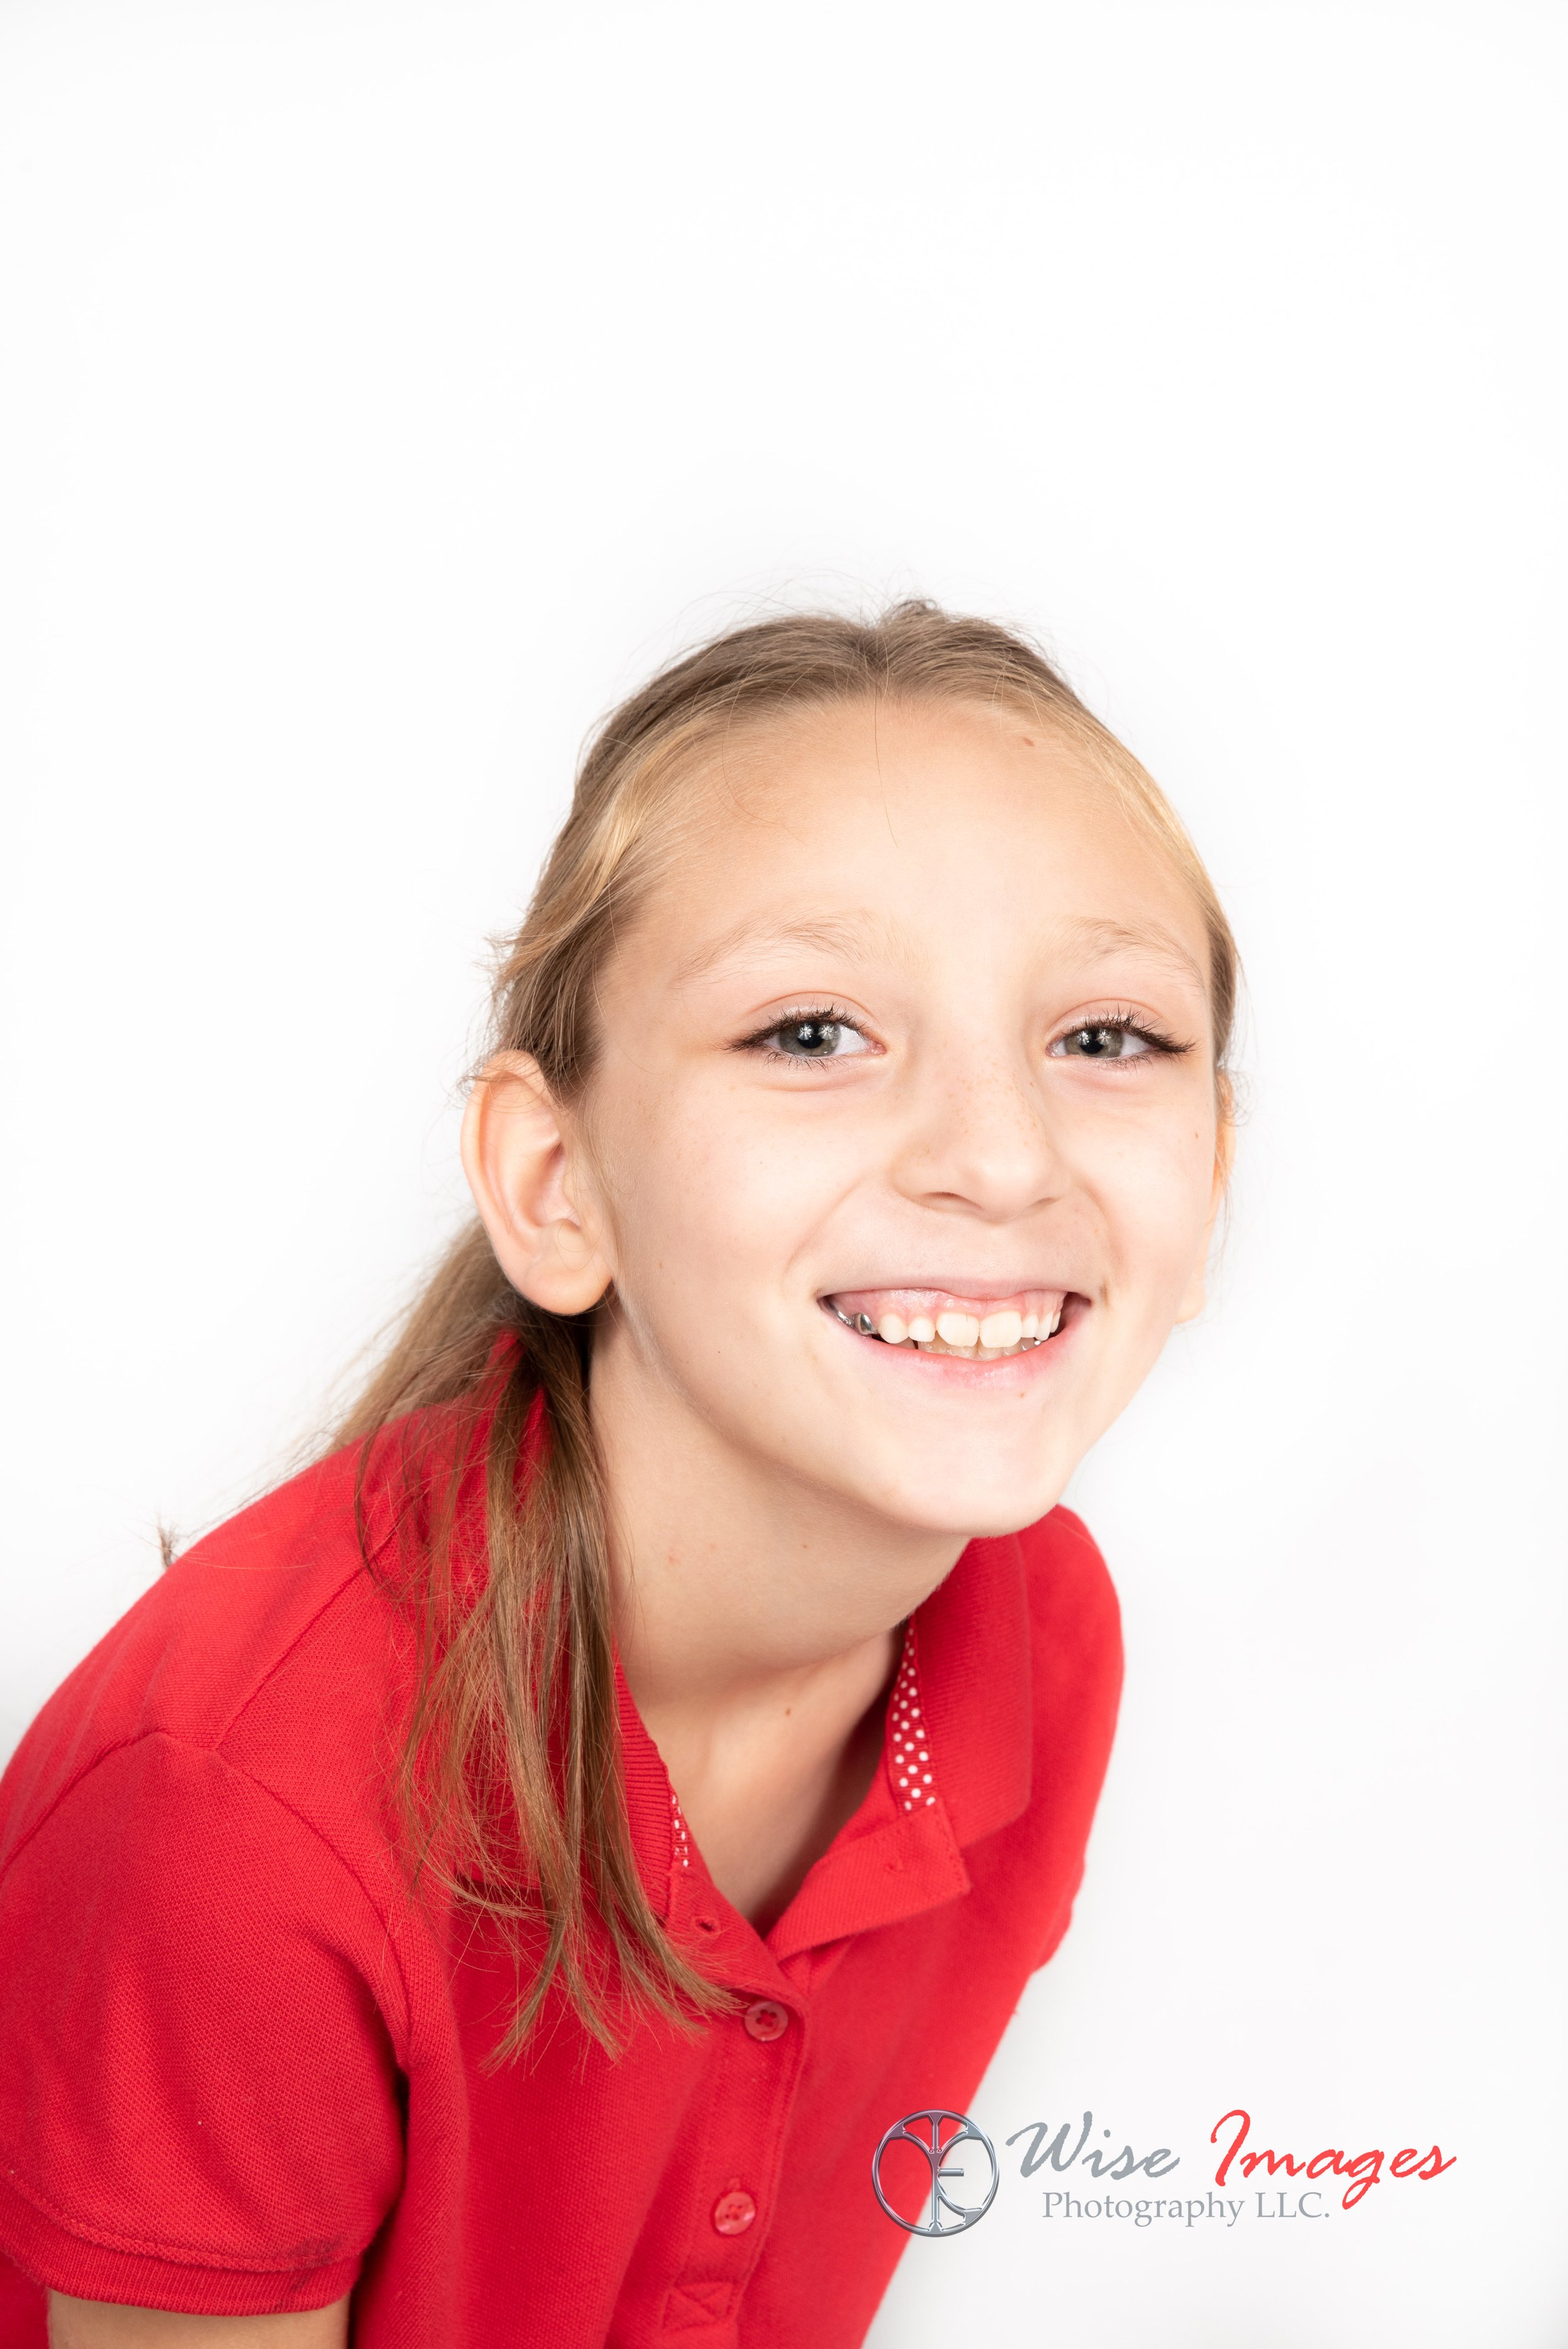
Perspective is about seeing things from a different point of view. If you are photographing kids or dogs, get on their eye level. Try a variety of angles, to get the look you want. In the images below, I chose images which would be almost the same with a slight change in perspective. I show you an image taken at eye level and then an image I chose to get low. Do you see the difference in feel?
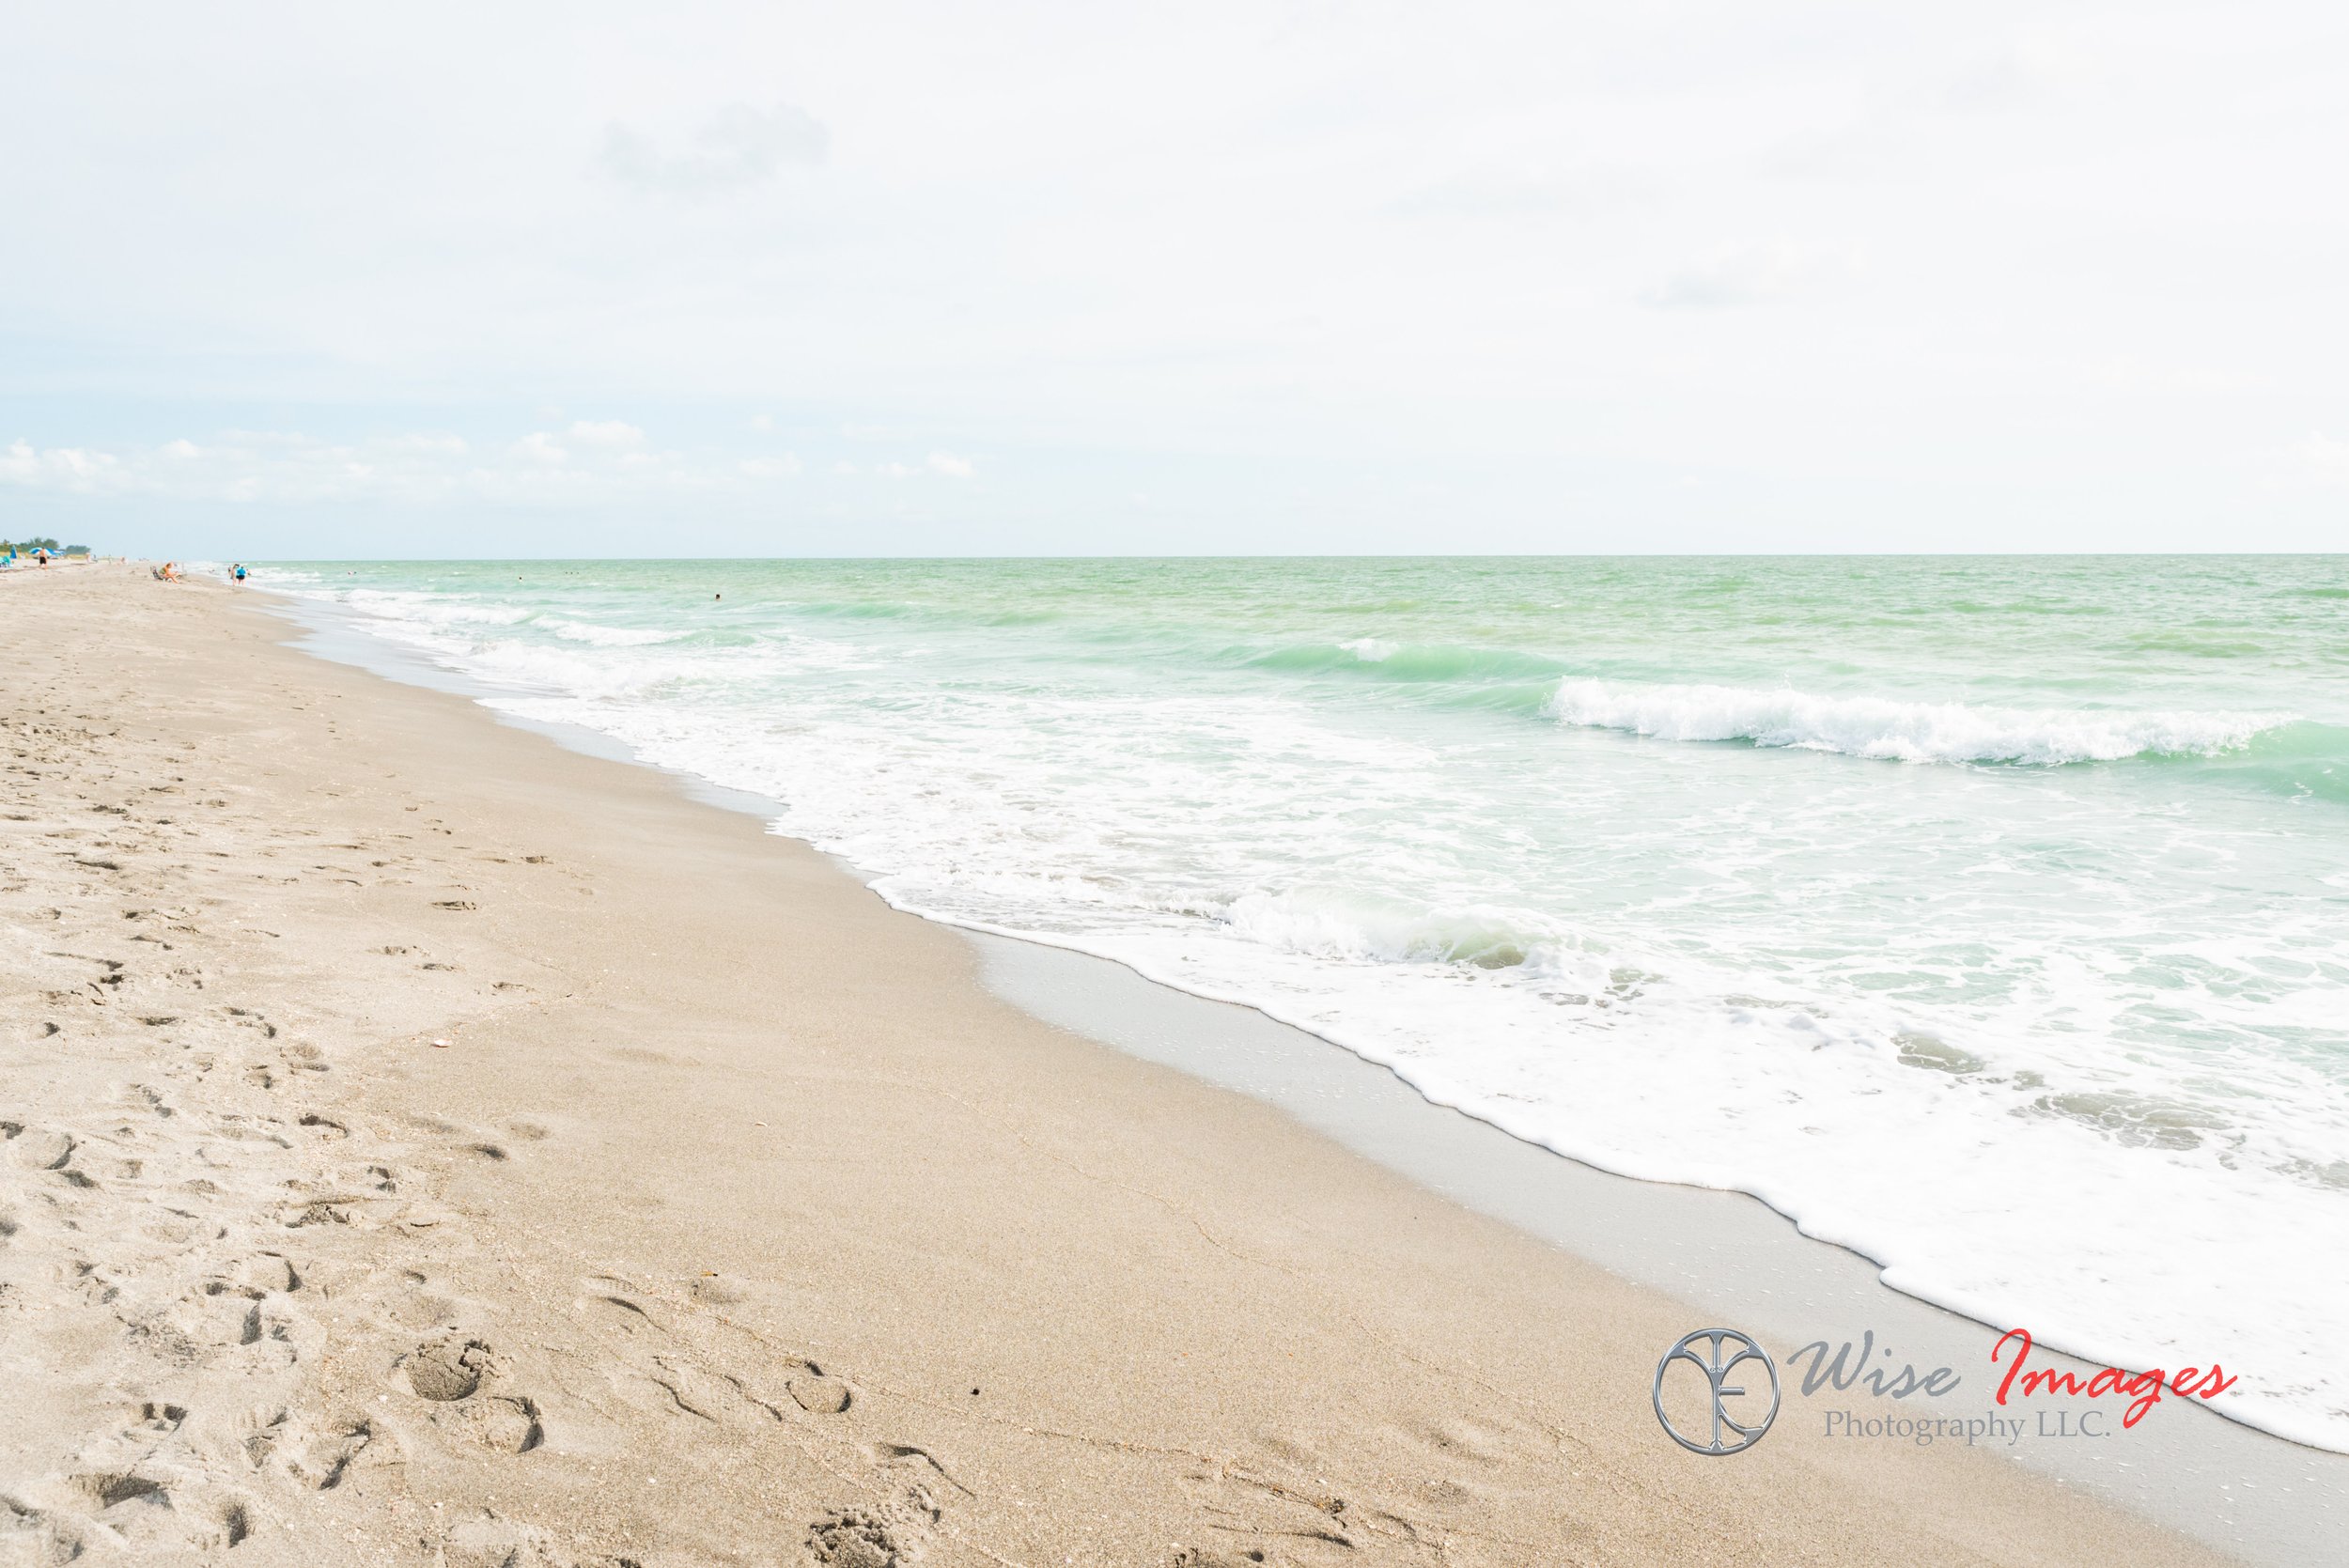
Image taken at eye level.
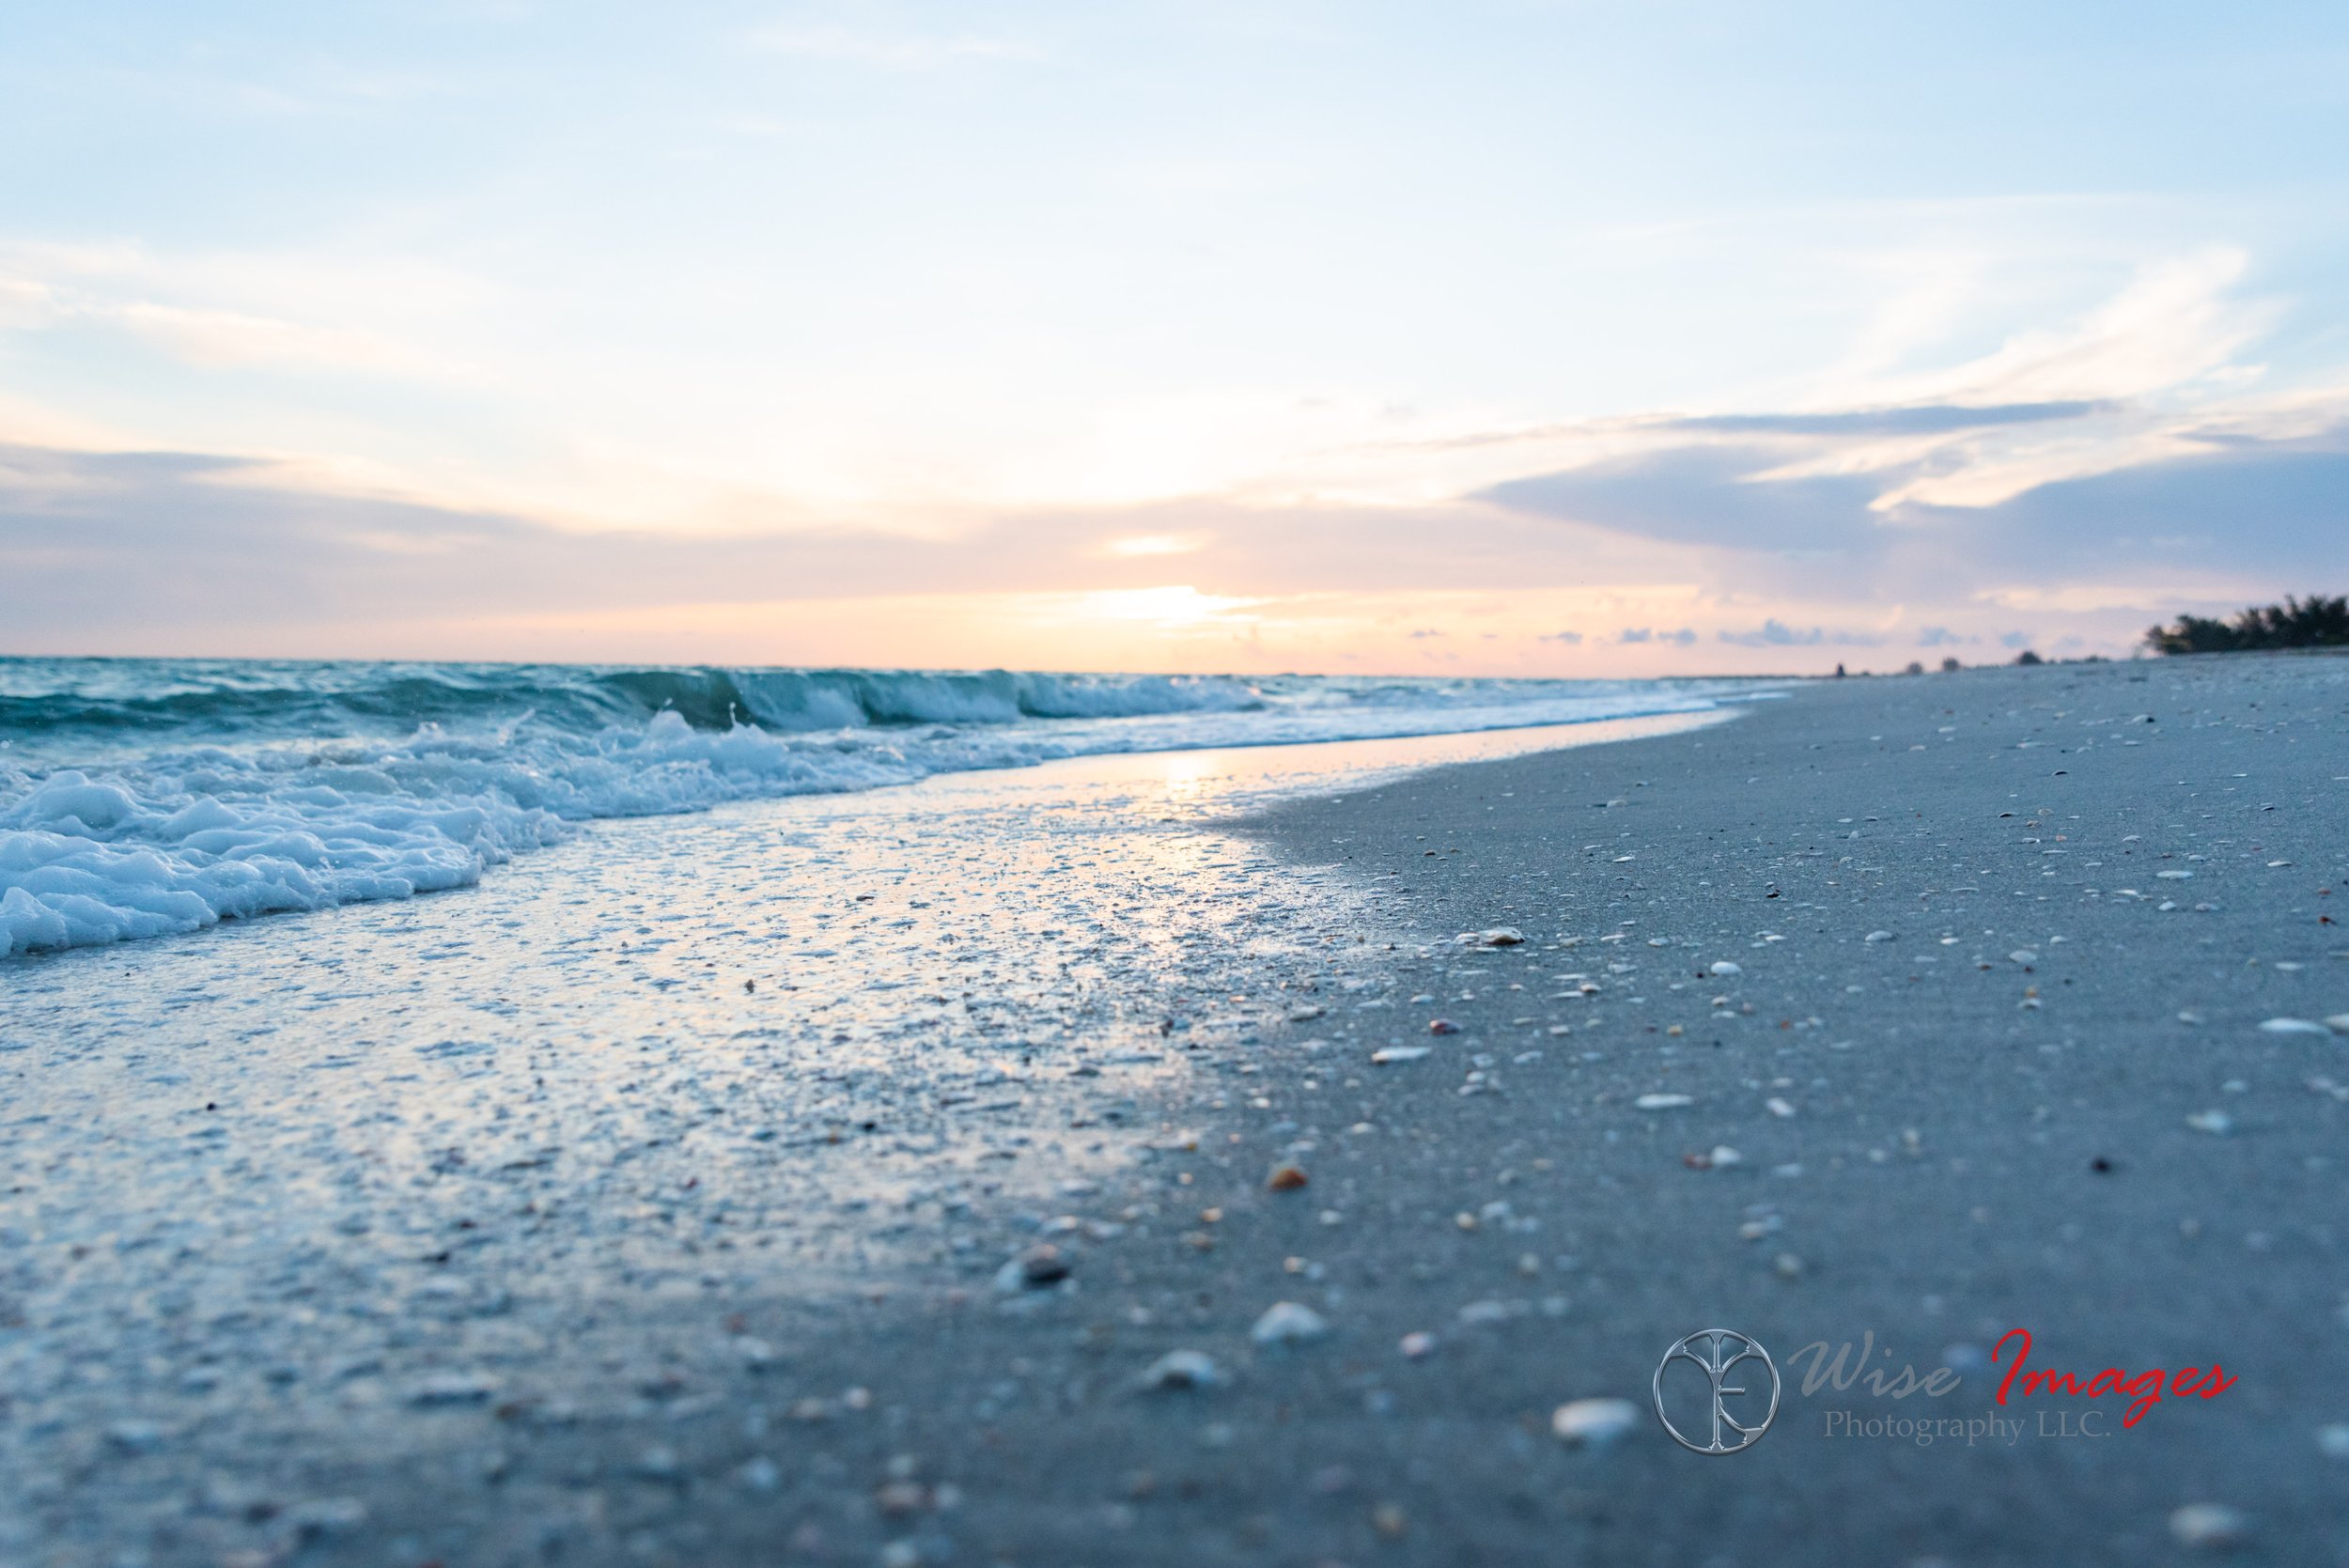
Image taken a few inches off the ground.
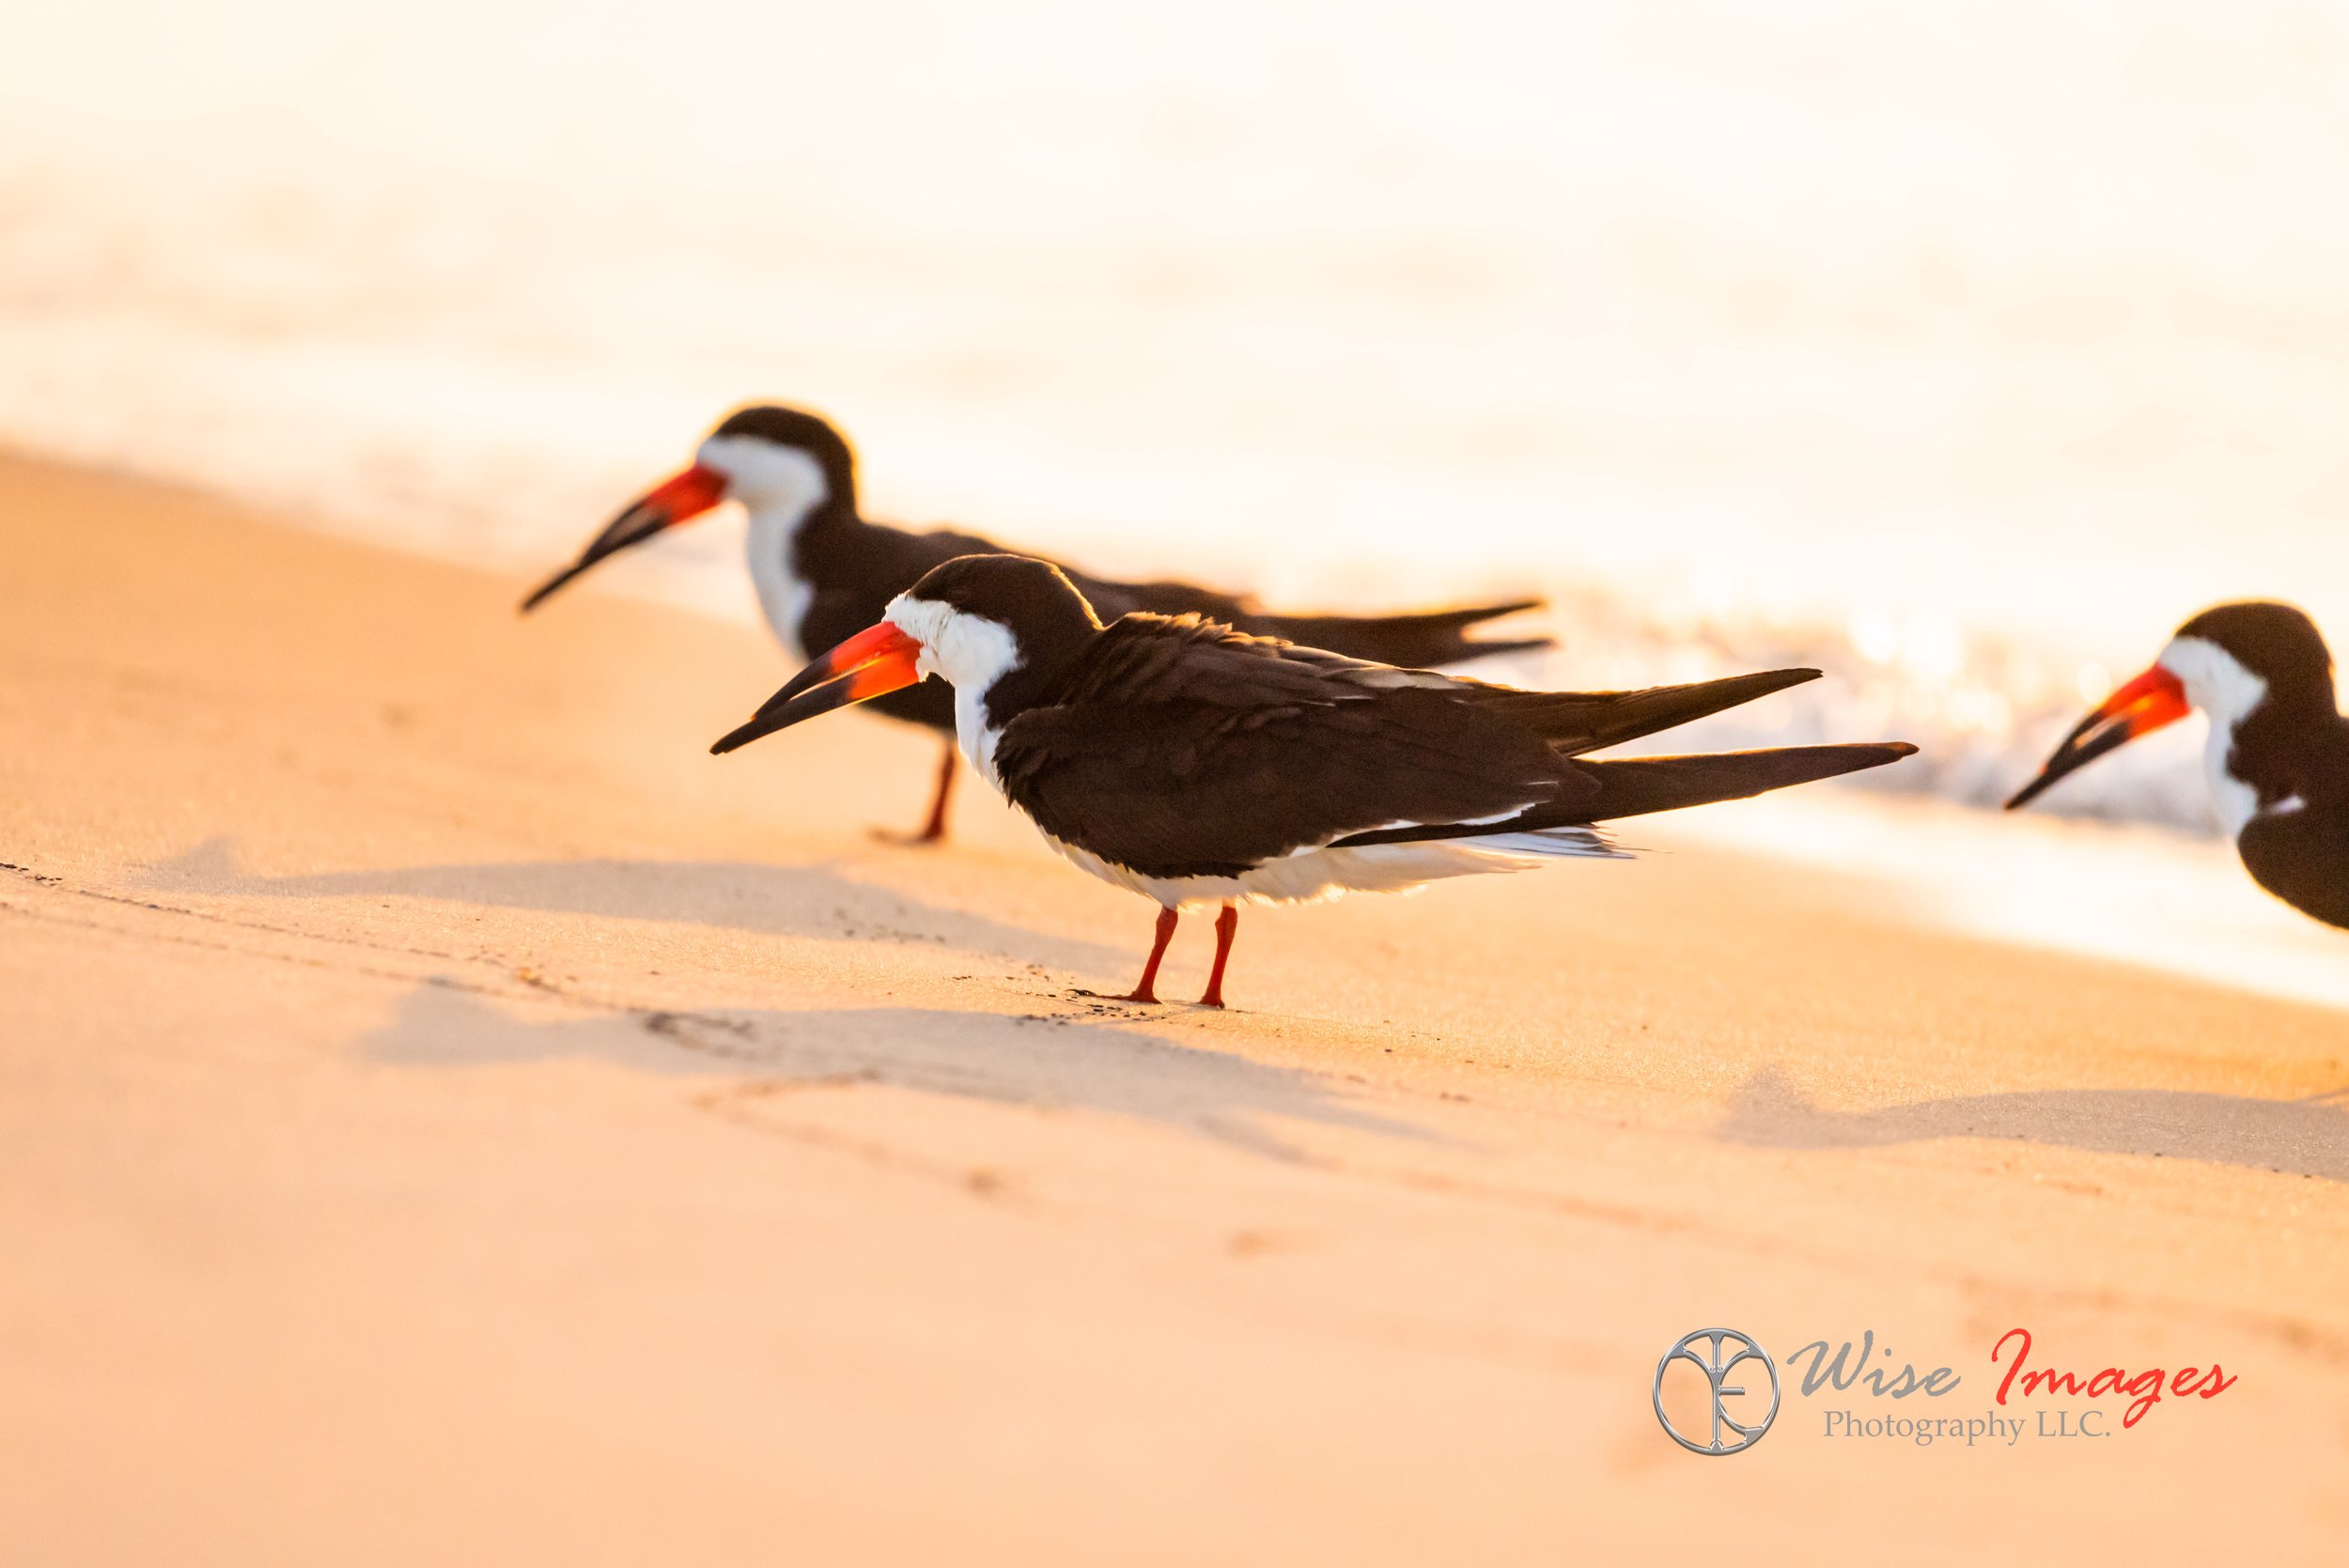
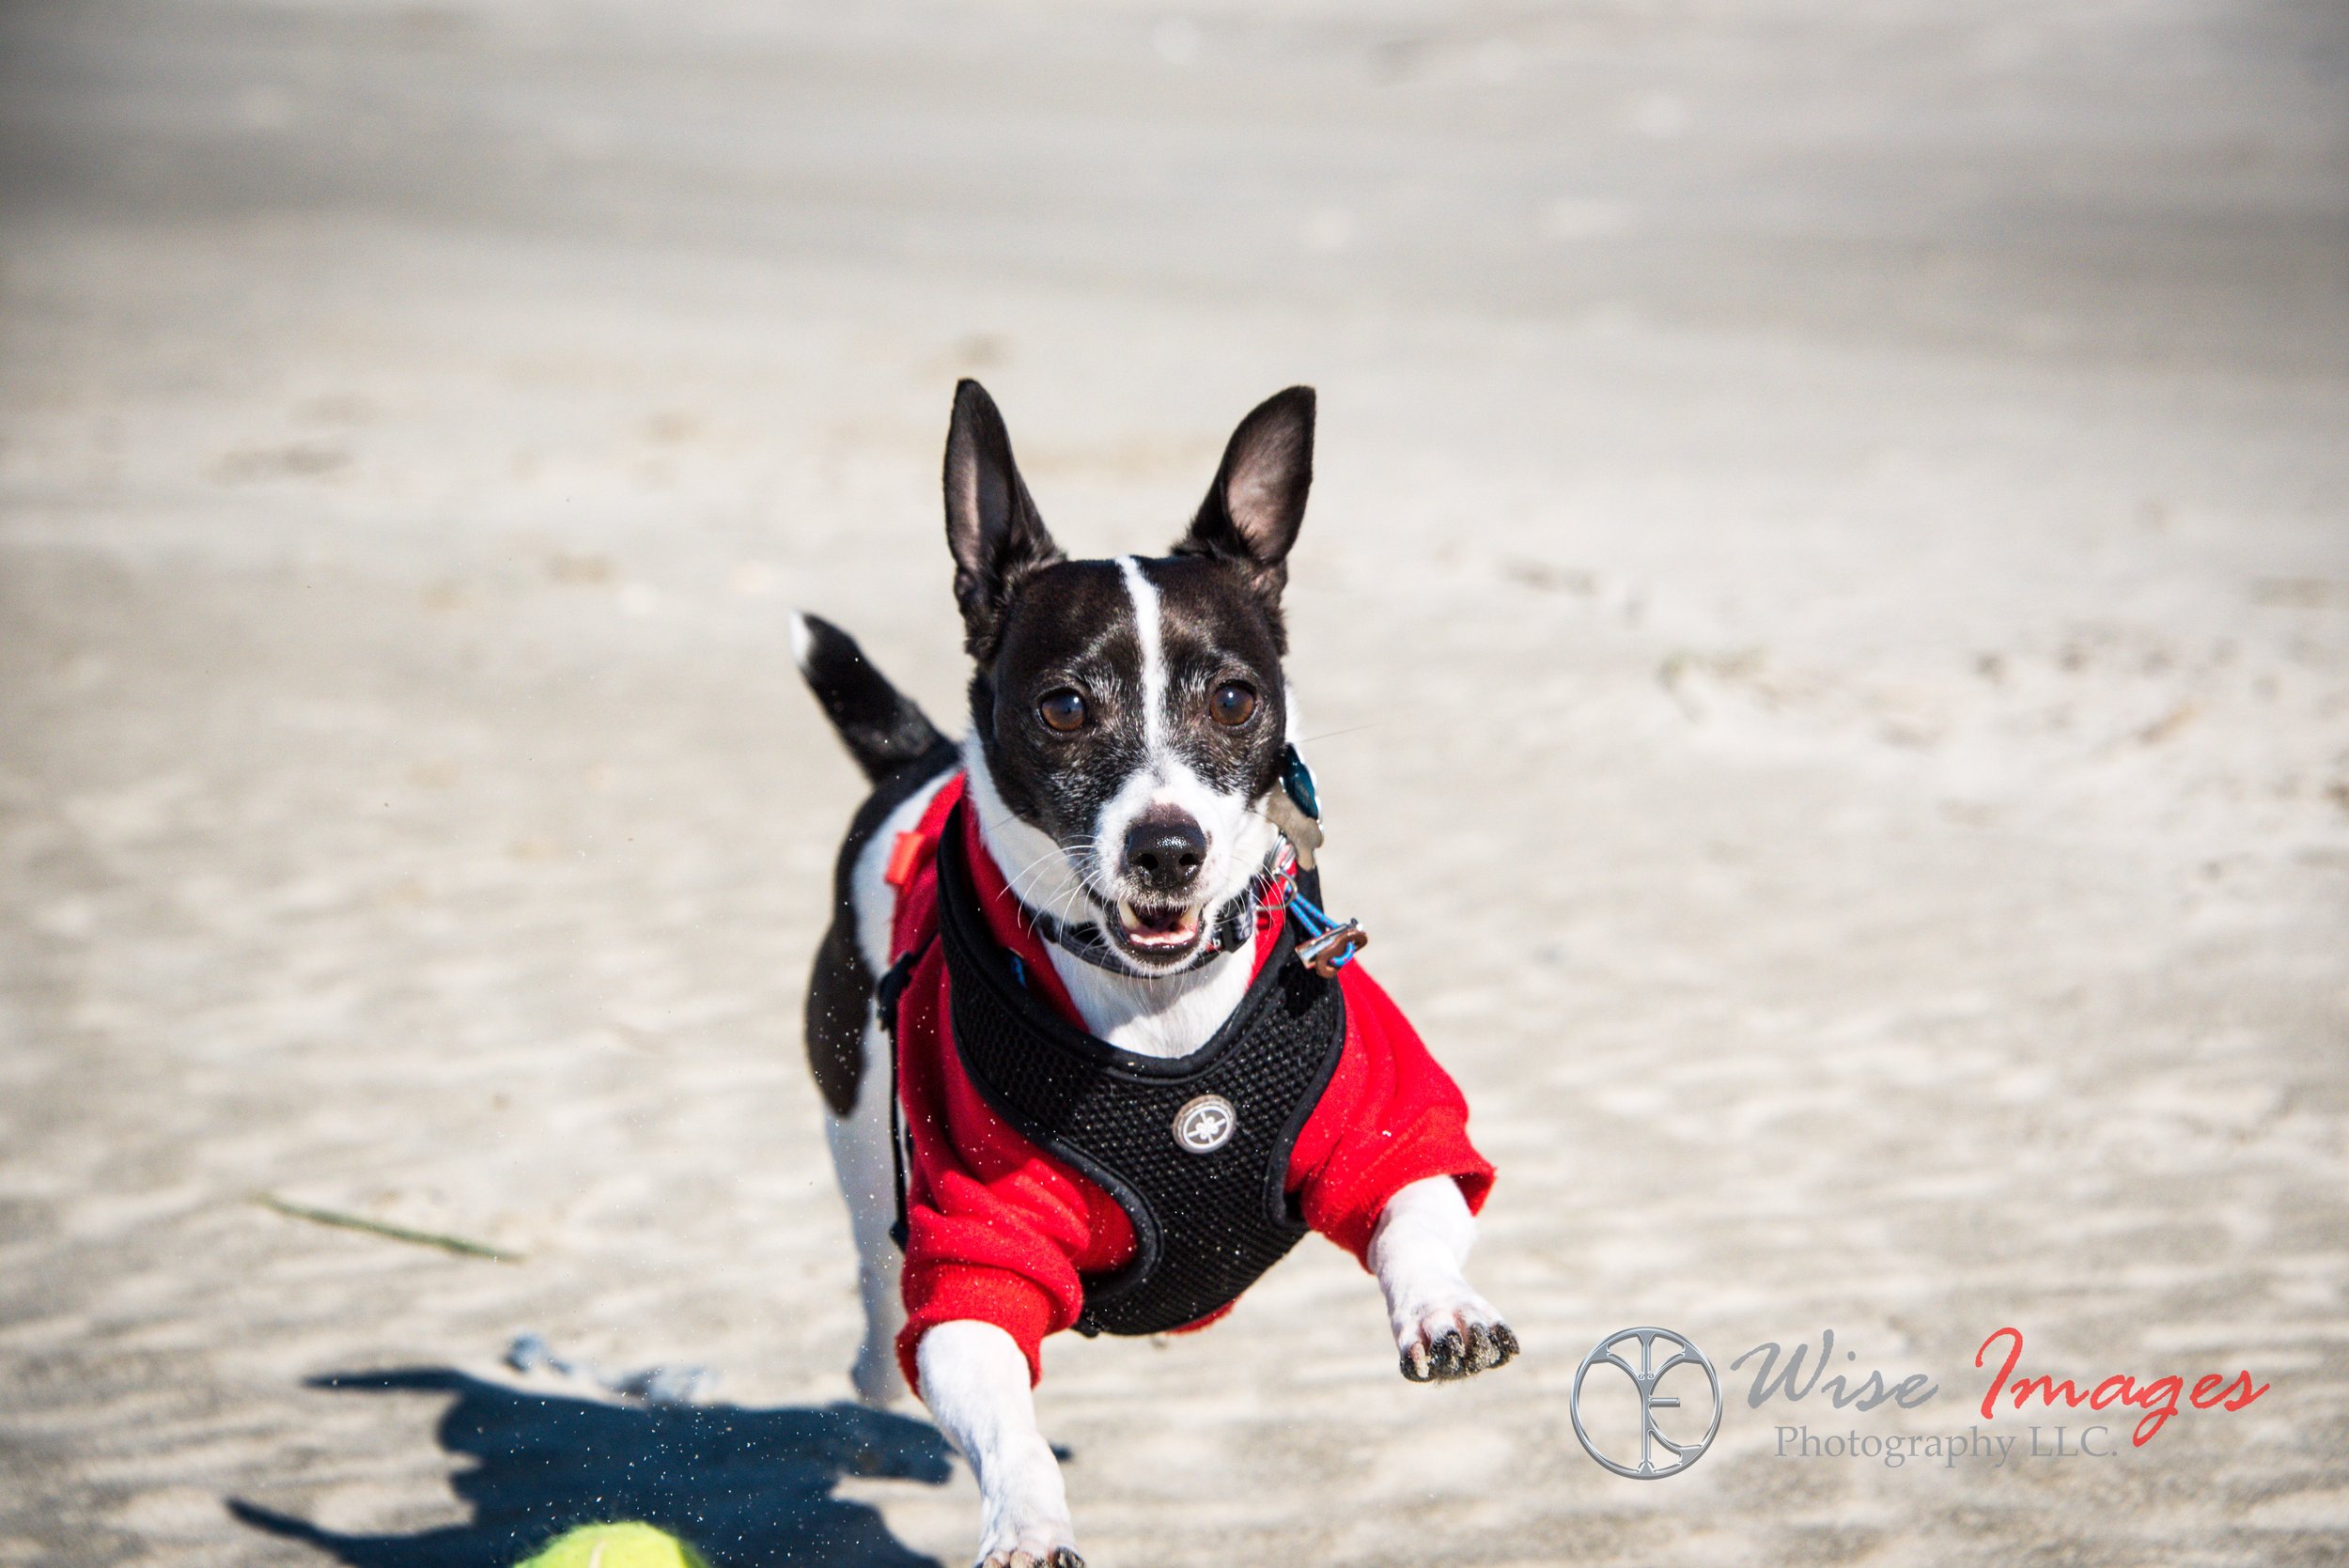
Leave some room to run
Leaving some room in your images for moving objects gives your subject some place to go. Notice how the one image below doesn’t give Beau enough room to run and go to some place in the image.
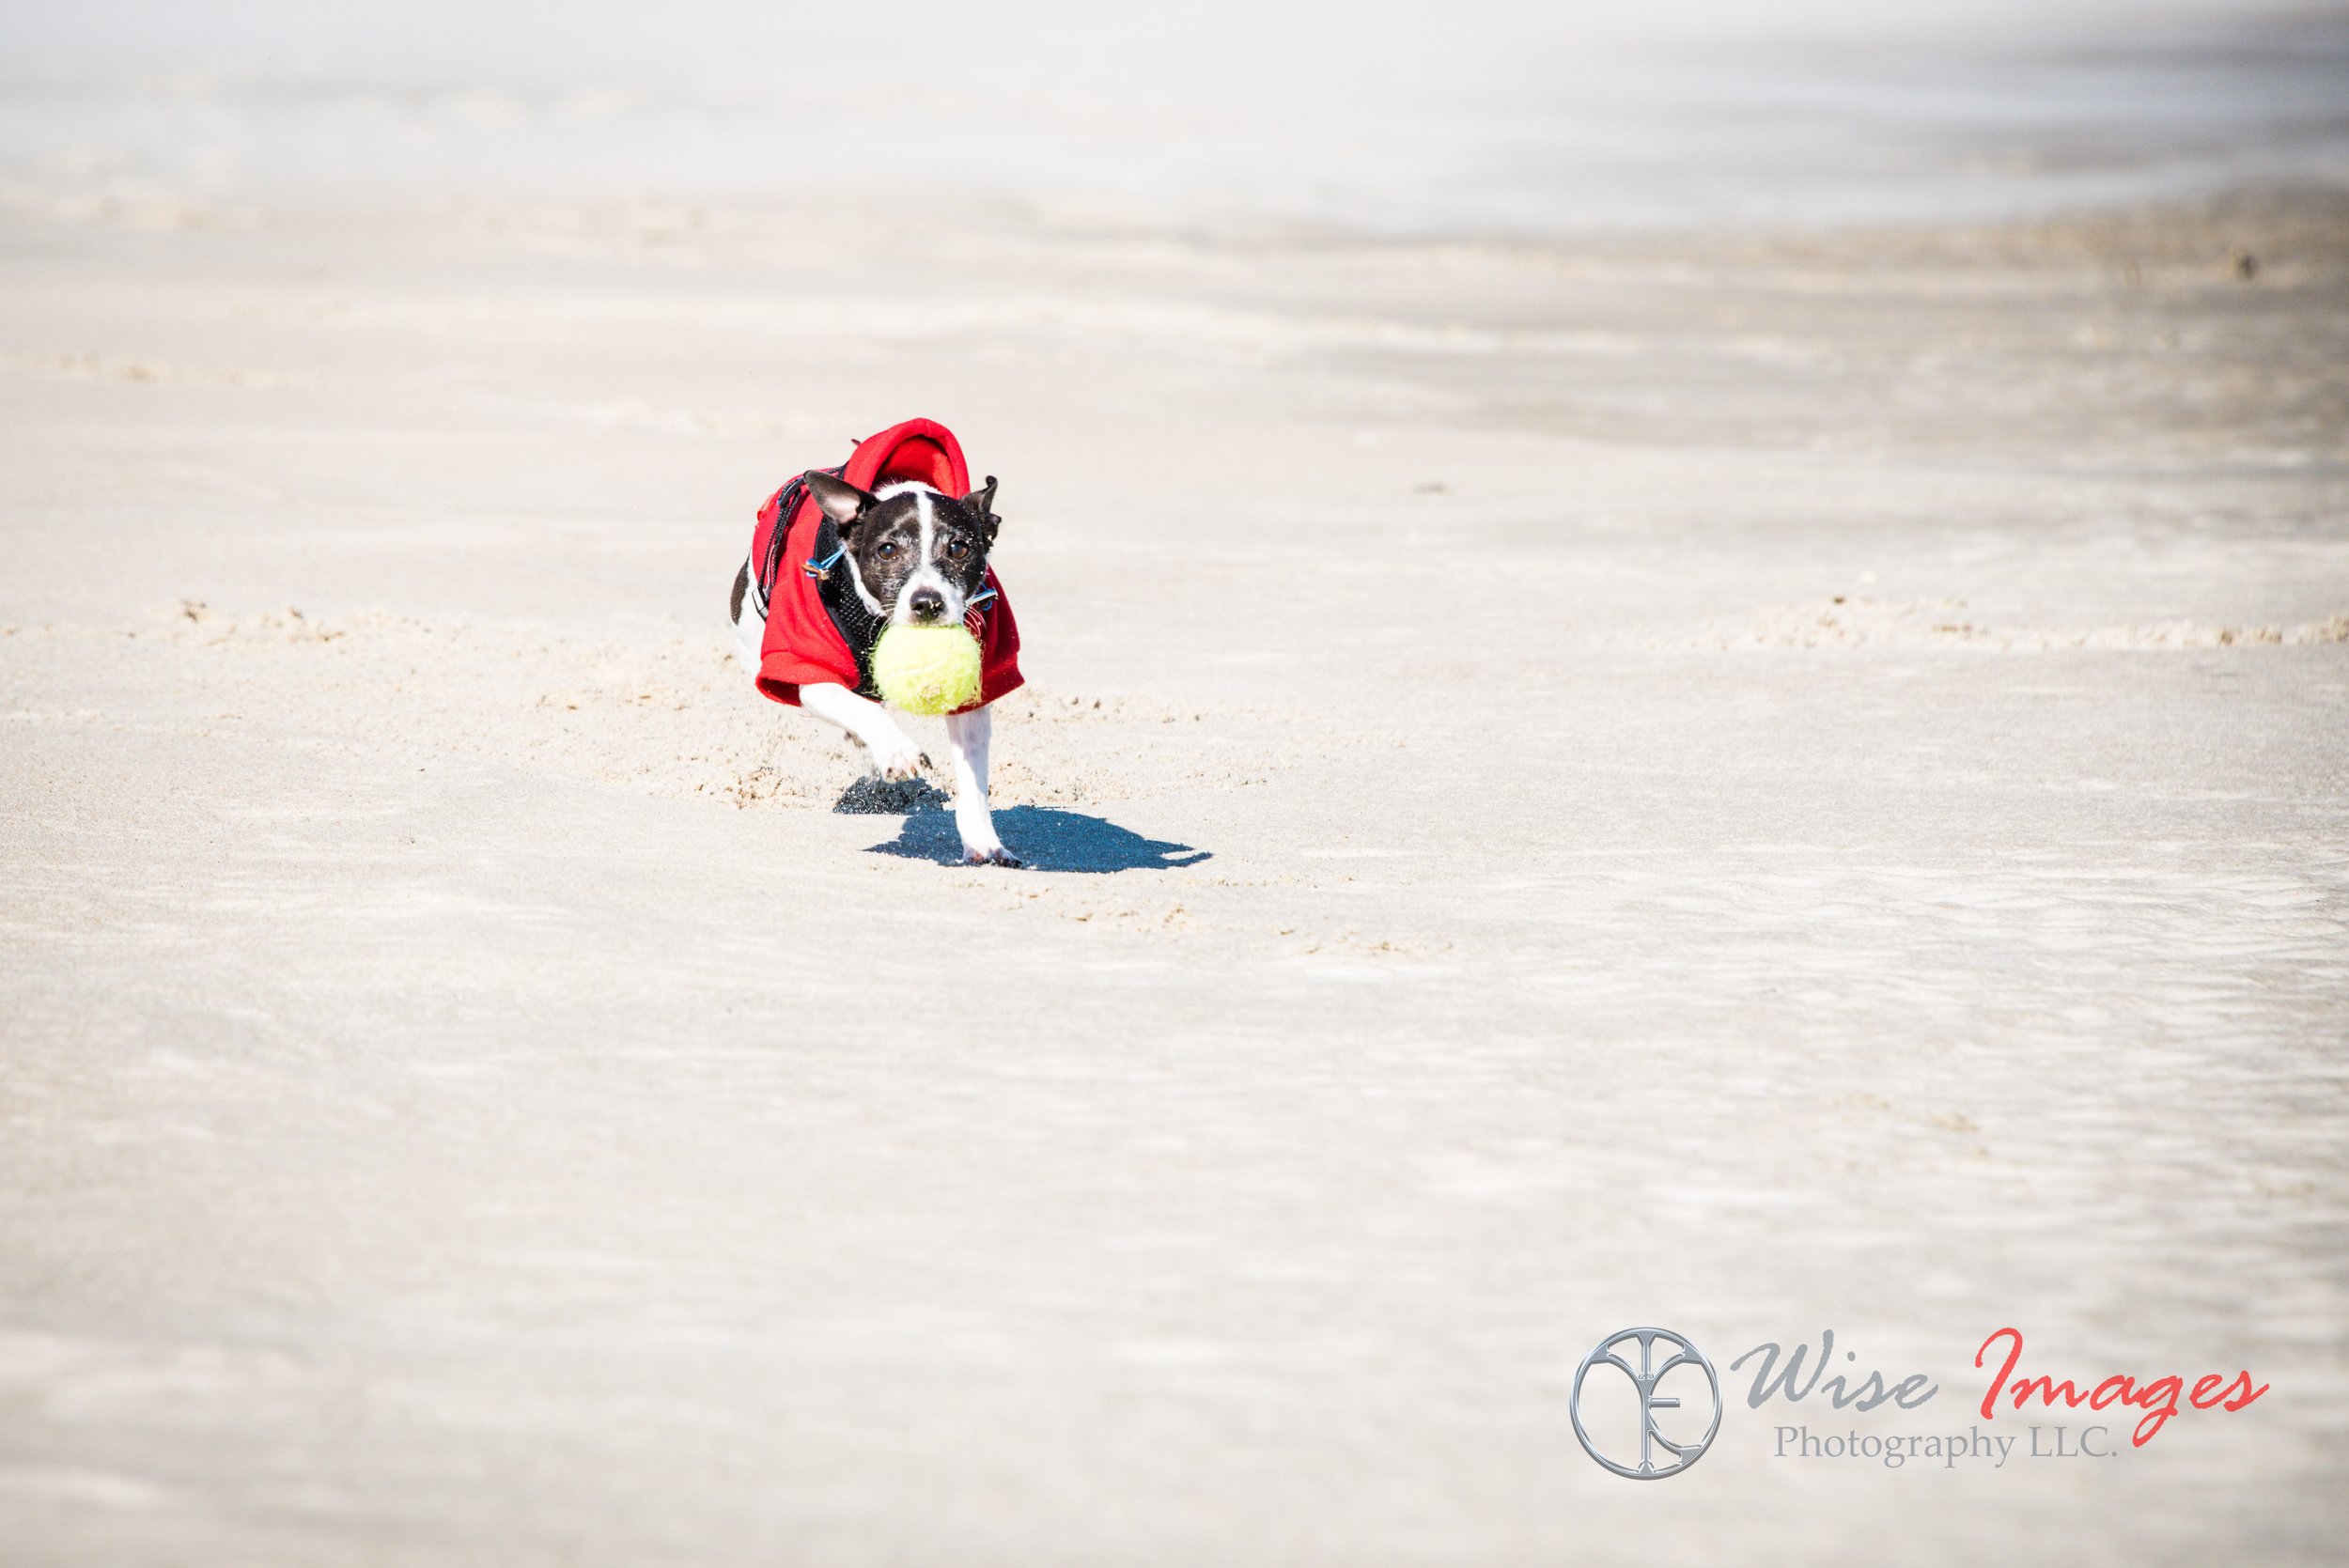
Notice Beau has some place he can run too in this image because he has the space.
This is a great shot of Beau and one of my favorites! Notice he has no place to “go” in the photograph versus the above photograph.
Have you been wanting to learn more about photography? Reach out today and let’s see how I can get you out of automatic mode and create the images you want to create! Reach out at 321-765-WISE (9473) or kt@wiseimagesphotography.com